
The Steam Workshop visit 30th April 2026
John Aldersley has kindly produced a report on the recent visit, presented here:-
Your roving reporter has a disclaimer “I haven’t a clue about steam, trains or traction engines, so please bear that in mind”
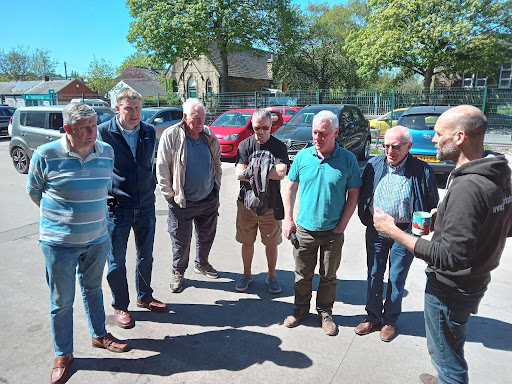
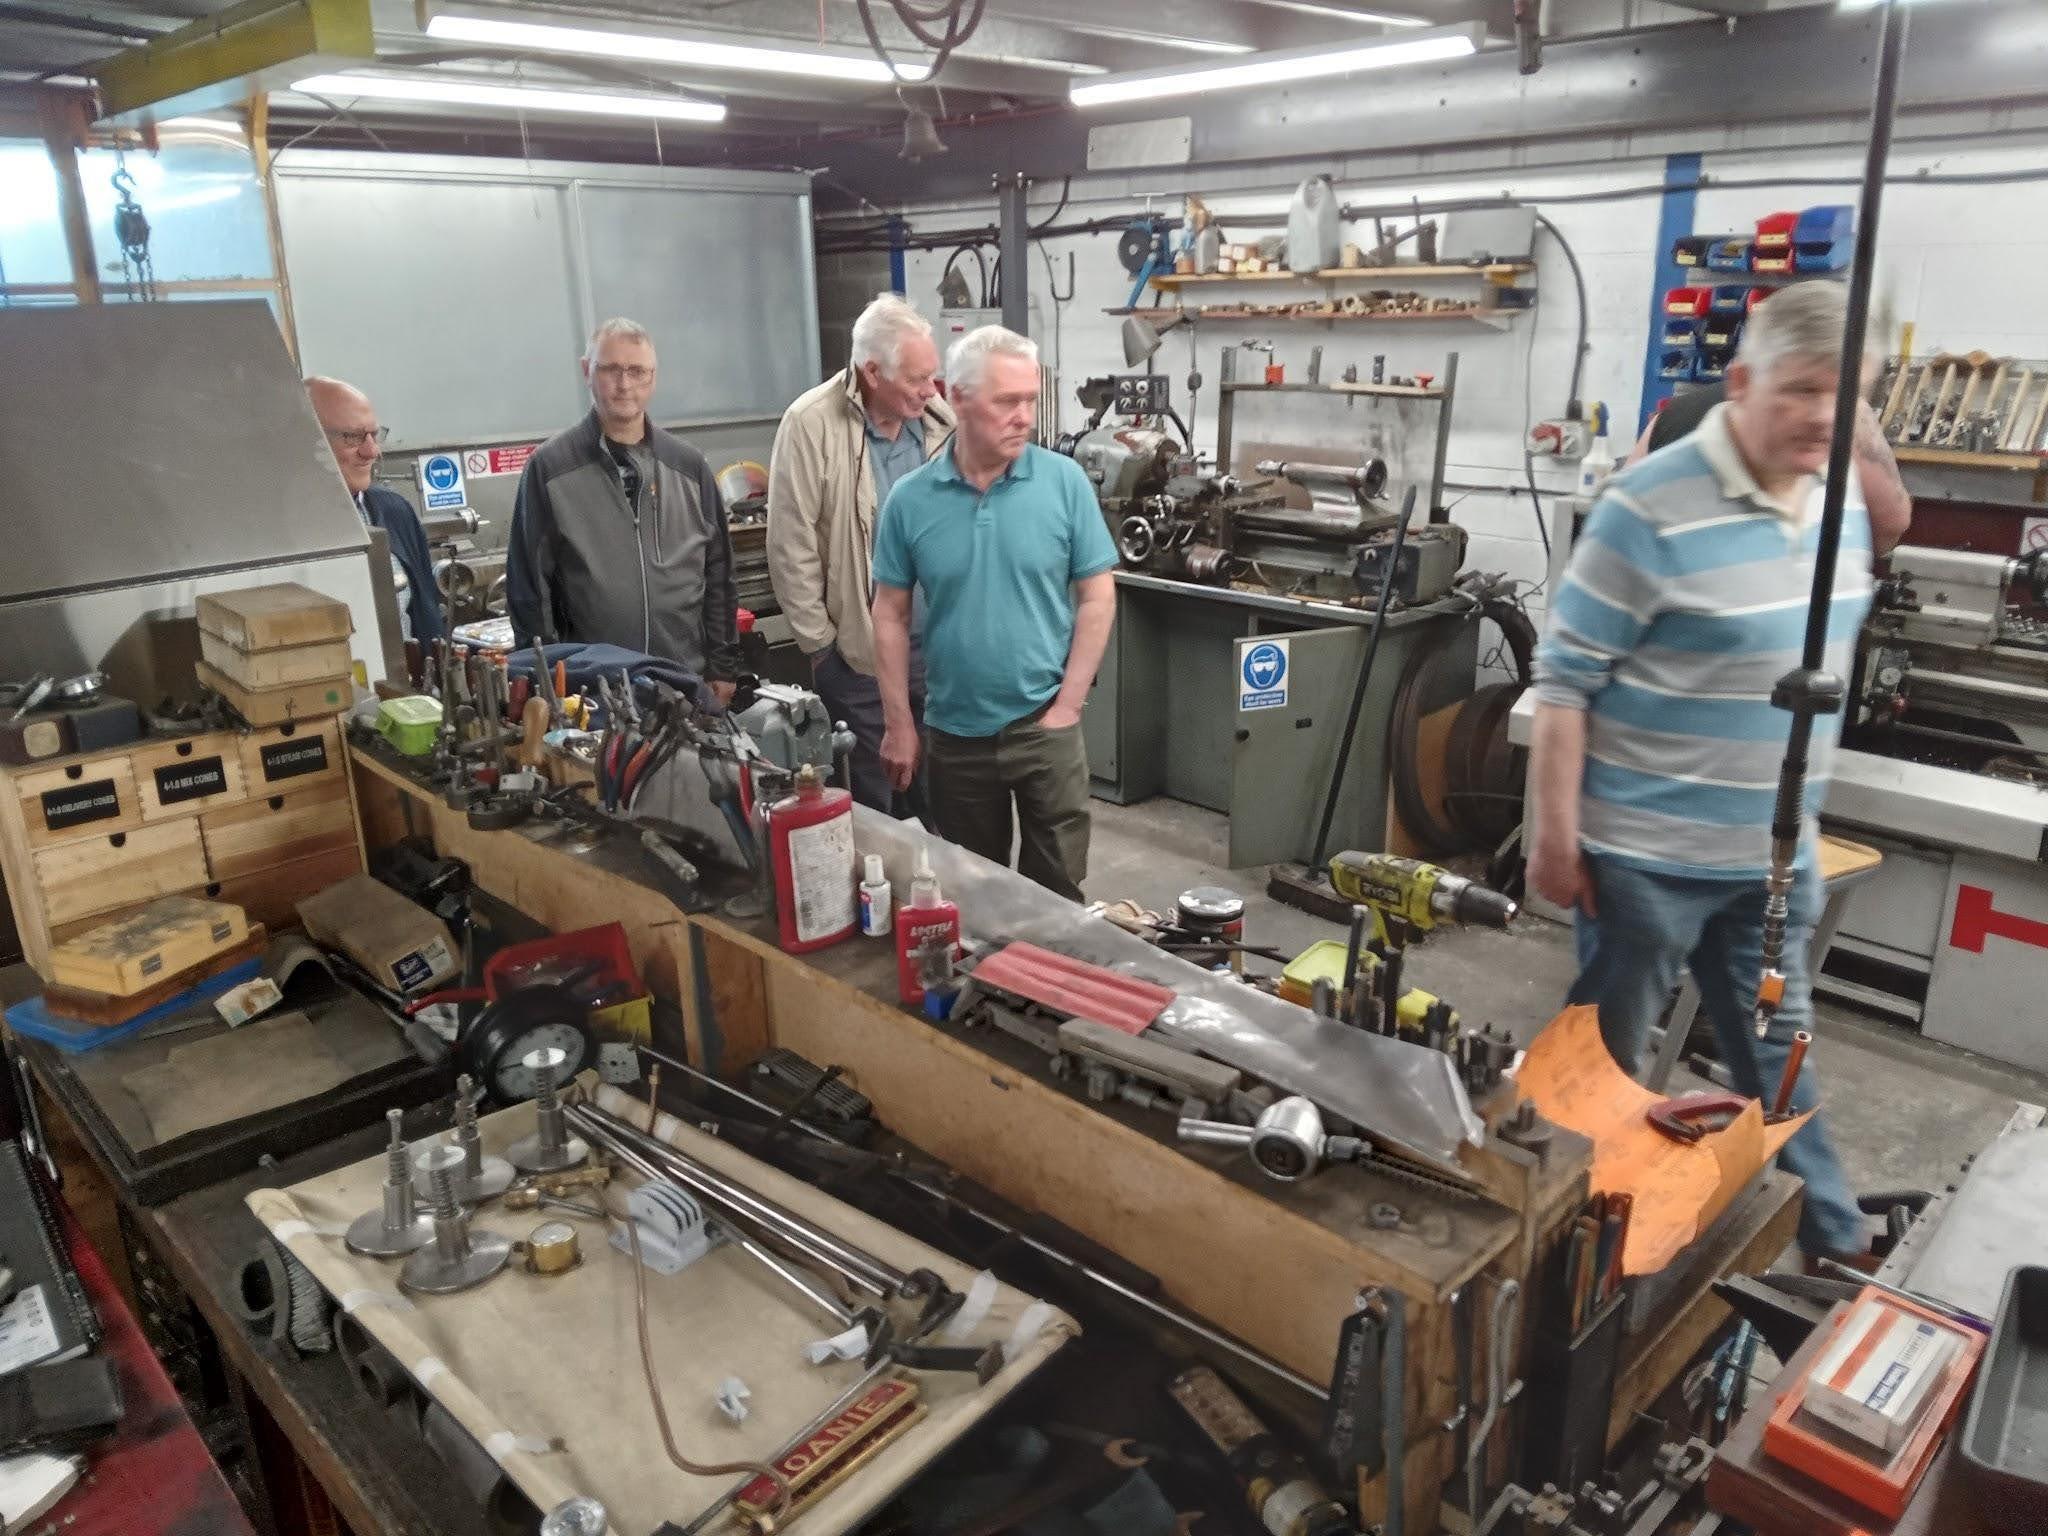
What a lovely warm day for a visit, a small number of members turned out, other than Howard, all were from the council, shame others missed out and boy did they.
Steam technology is very old, but as I found out very ingenious, steam wasn’t all that we saw, unbelievable knowledge about the subject soon became apparent. Simon Hudson greeted us with a very warm welcome, this was mainly down to Graham, our President having worked for him a few years ago, hence arranging the visit.
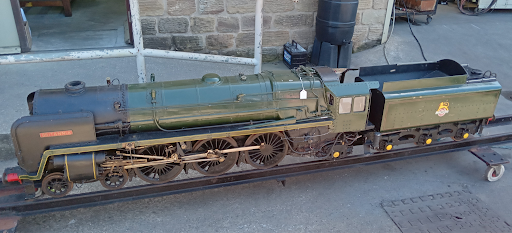
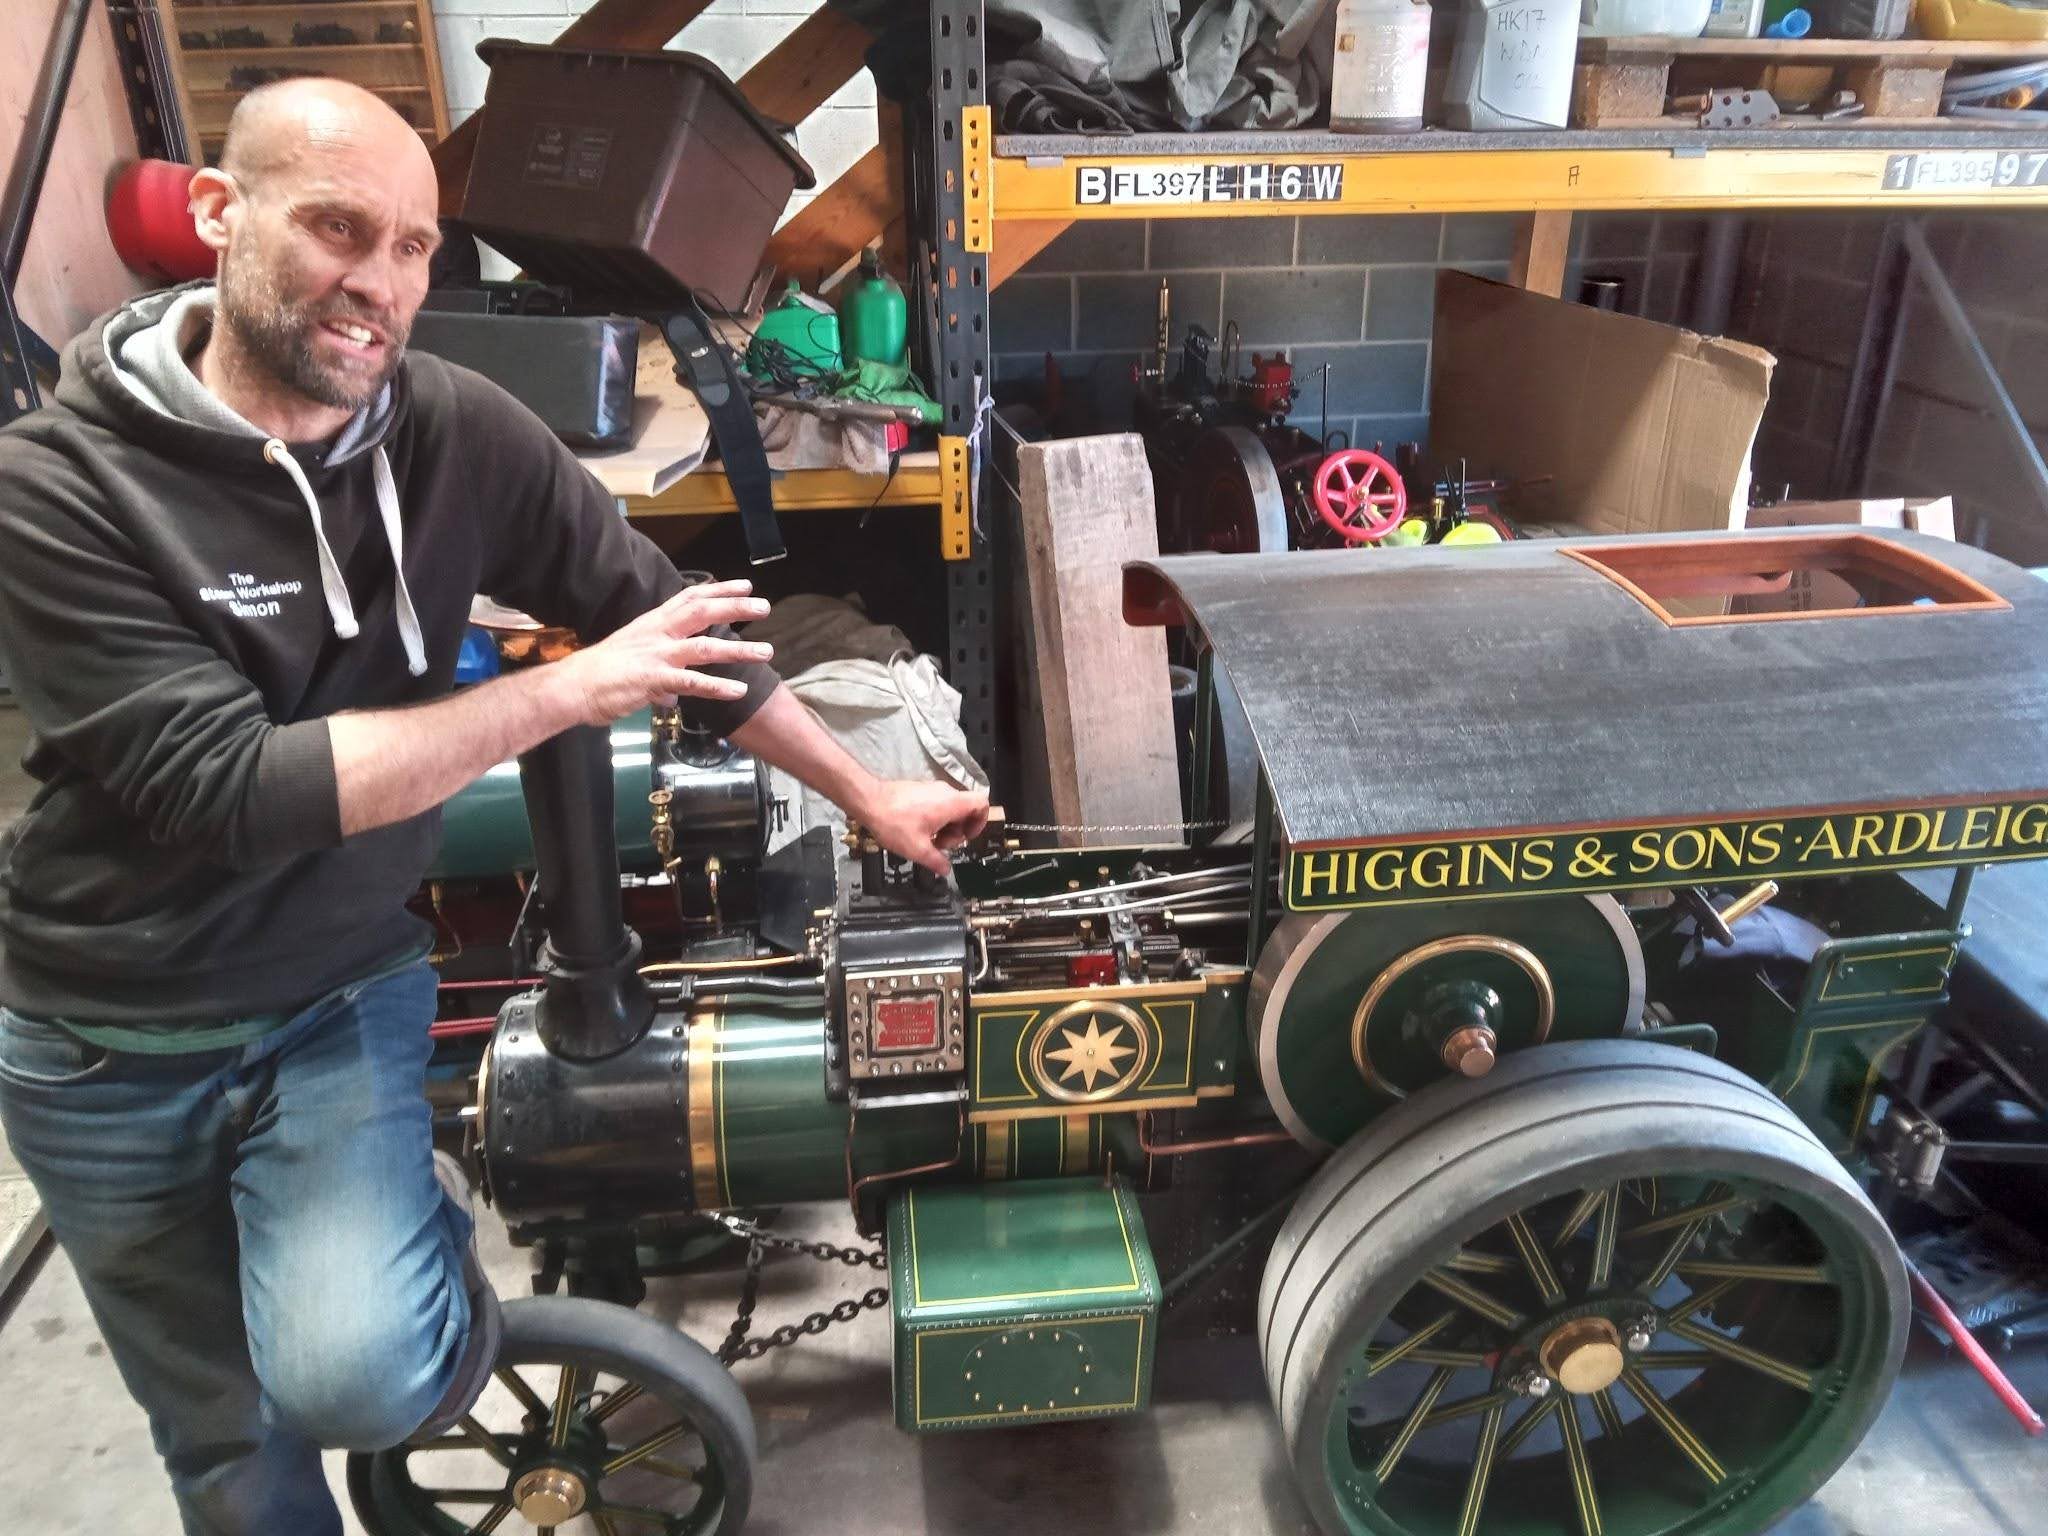
Outside the unit was a ride-on train that Simon had purchased from an auction. Simon told us it would be overhauled over a period of time, the boiler being the main replacement, as a pressure vessel we found out that they tested the finished item to two times its working pressure, using water. The unknown history of the locomotive could be a massive issue, it could be totally knackered, but an experienced eye should prove a good buy. I must say after the first five minutes I knew that Simon was not just someone who knows a bit, he is definitely an expert, of the highest degree.
We were shown some of the main items, it was interesting to find out that the safety valves aren’t something that can be bought, they are all made to order, to fit, but to get over that they make their own about 10 yards from the front door, the time taken for the person to make the model must be hundreds if not thousands of hours to make.
Below was our next engine we saw….
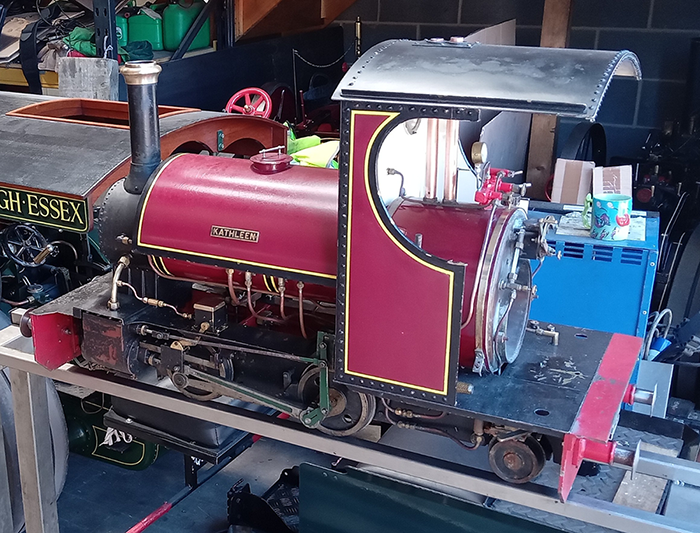
This is hopefully going to be a quick turnaround, having been bought by Simon using his expert eye to decide it is only in the workshop for a day or so, then into stock for sale.
Simon noted that the solder around the boiler looked good and that helped him decide to buy it.
Next we saw a traction engine, Simon said the buyers are different to the train people, generally it is haulage companies and the farming type who tend to buy them, no track required.
What we saw next was quite astonishing, the company had previously made a diesel version of what we were now looking at, a note to our reader that it was being built up with just some CAD (computer aided design) 3D and I was super impressed.
Below was my first sight of ???
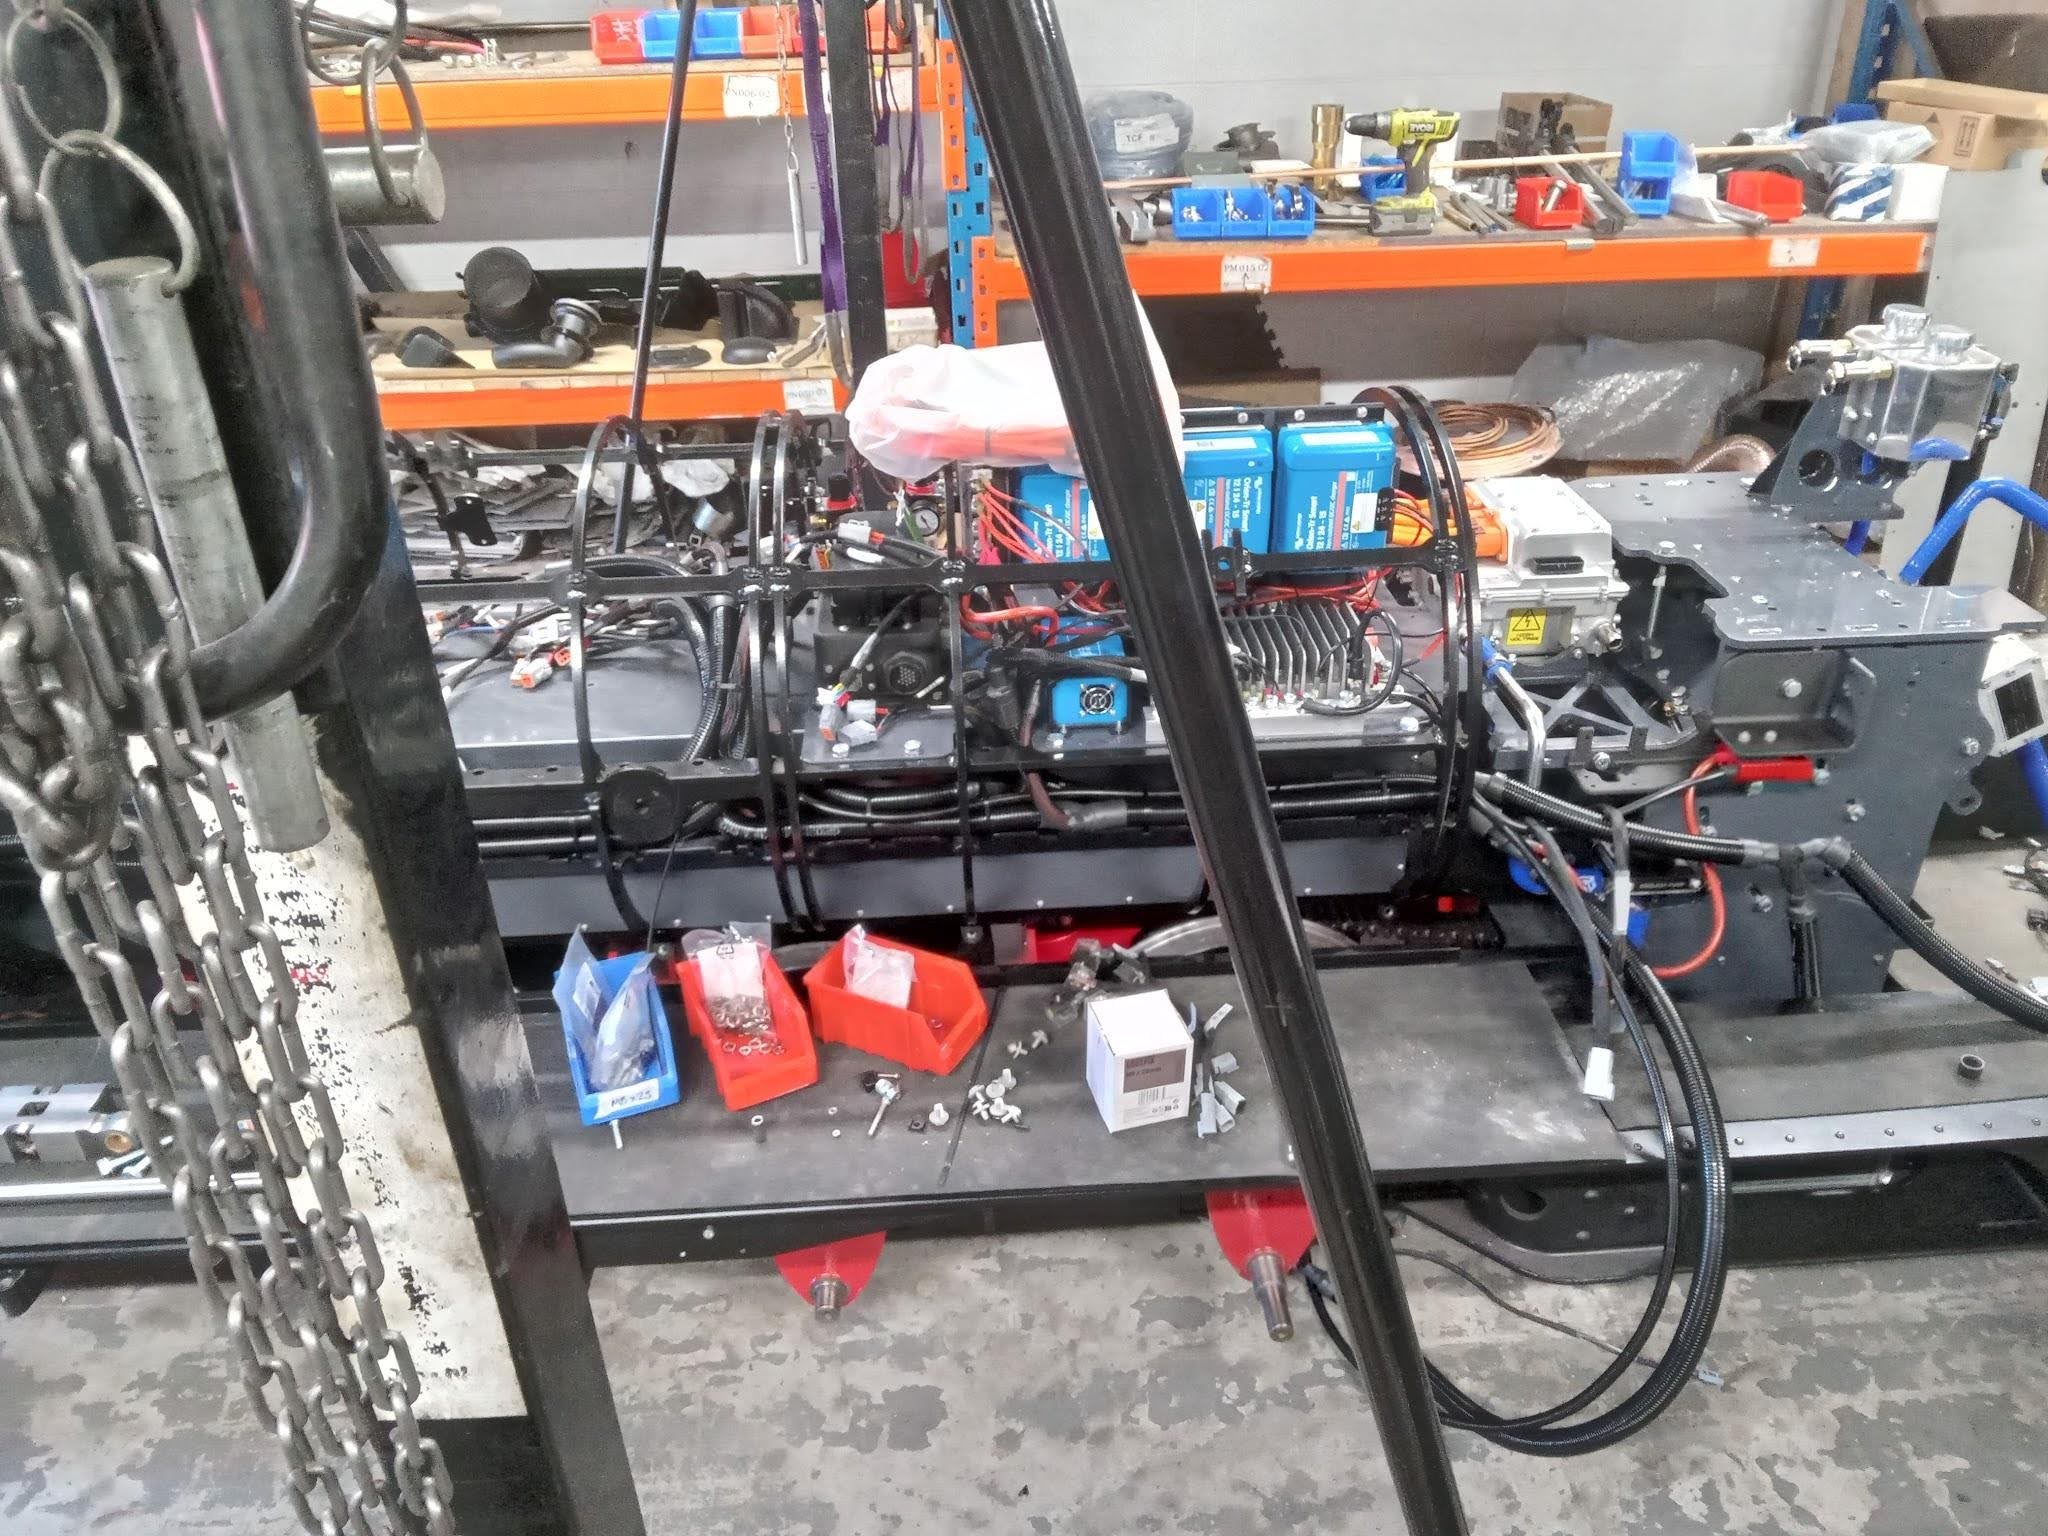
So what is it, and electric train and carriage (if that is what the sit on bit is called), with 100 hours of charge, regenerate braking, and quick and cheap charging using car technology and motor approx 90 HP which is calculated to be well within the required usage, Simon saying 10 HP is a figure when in normal use.
Simon then went into great detail, so bear with me as I will tell you about some of the features.
The train will make all the correct steam noises, with smoke and steam in real time, it will set off and stop just as a steam version would, all controlled by a computer, all built by this young man.
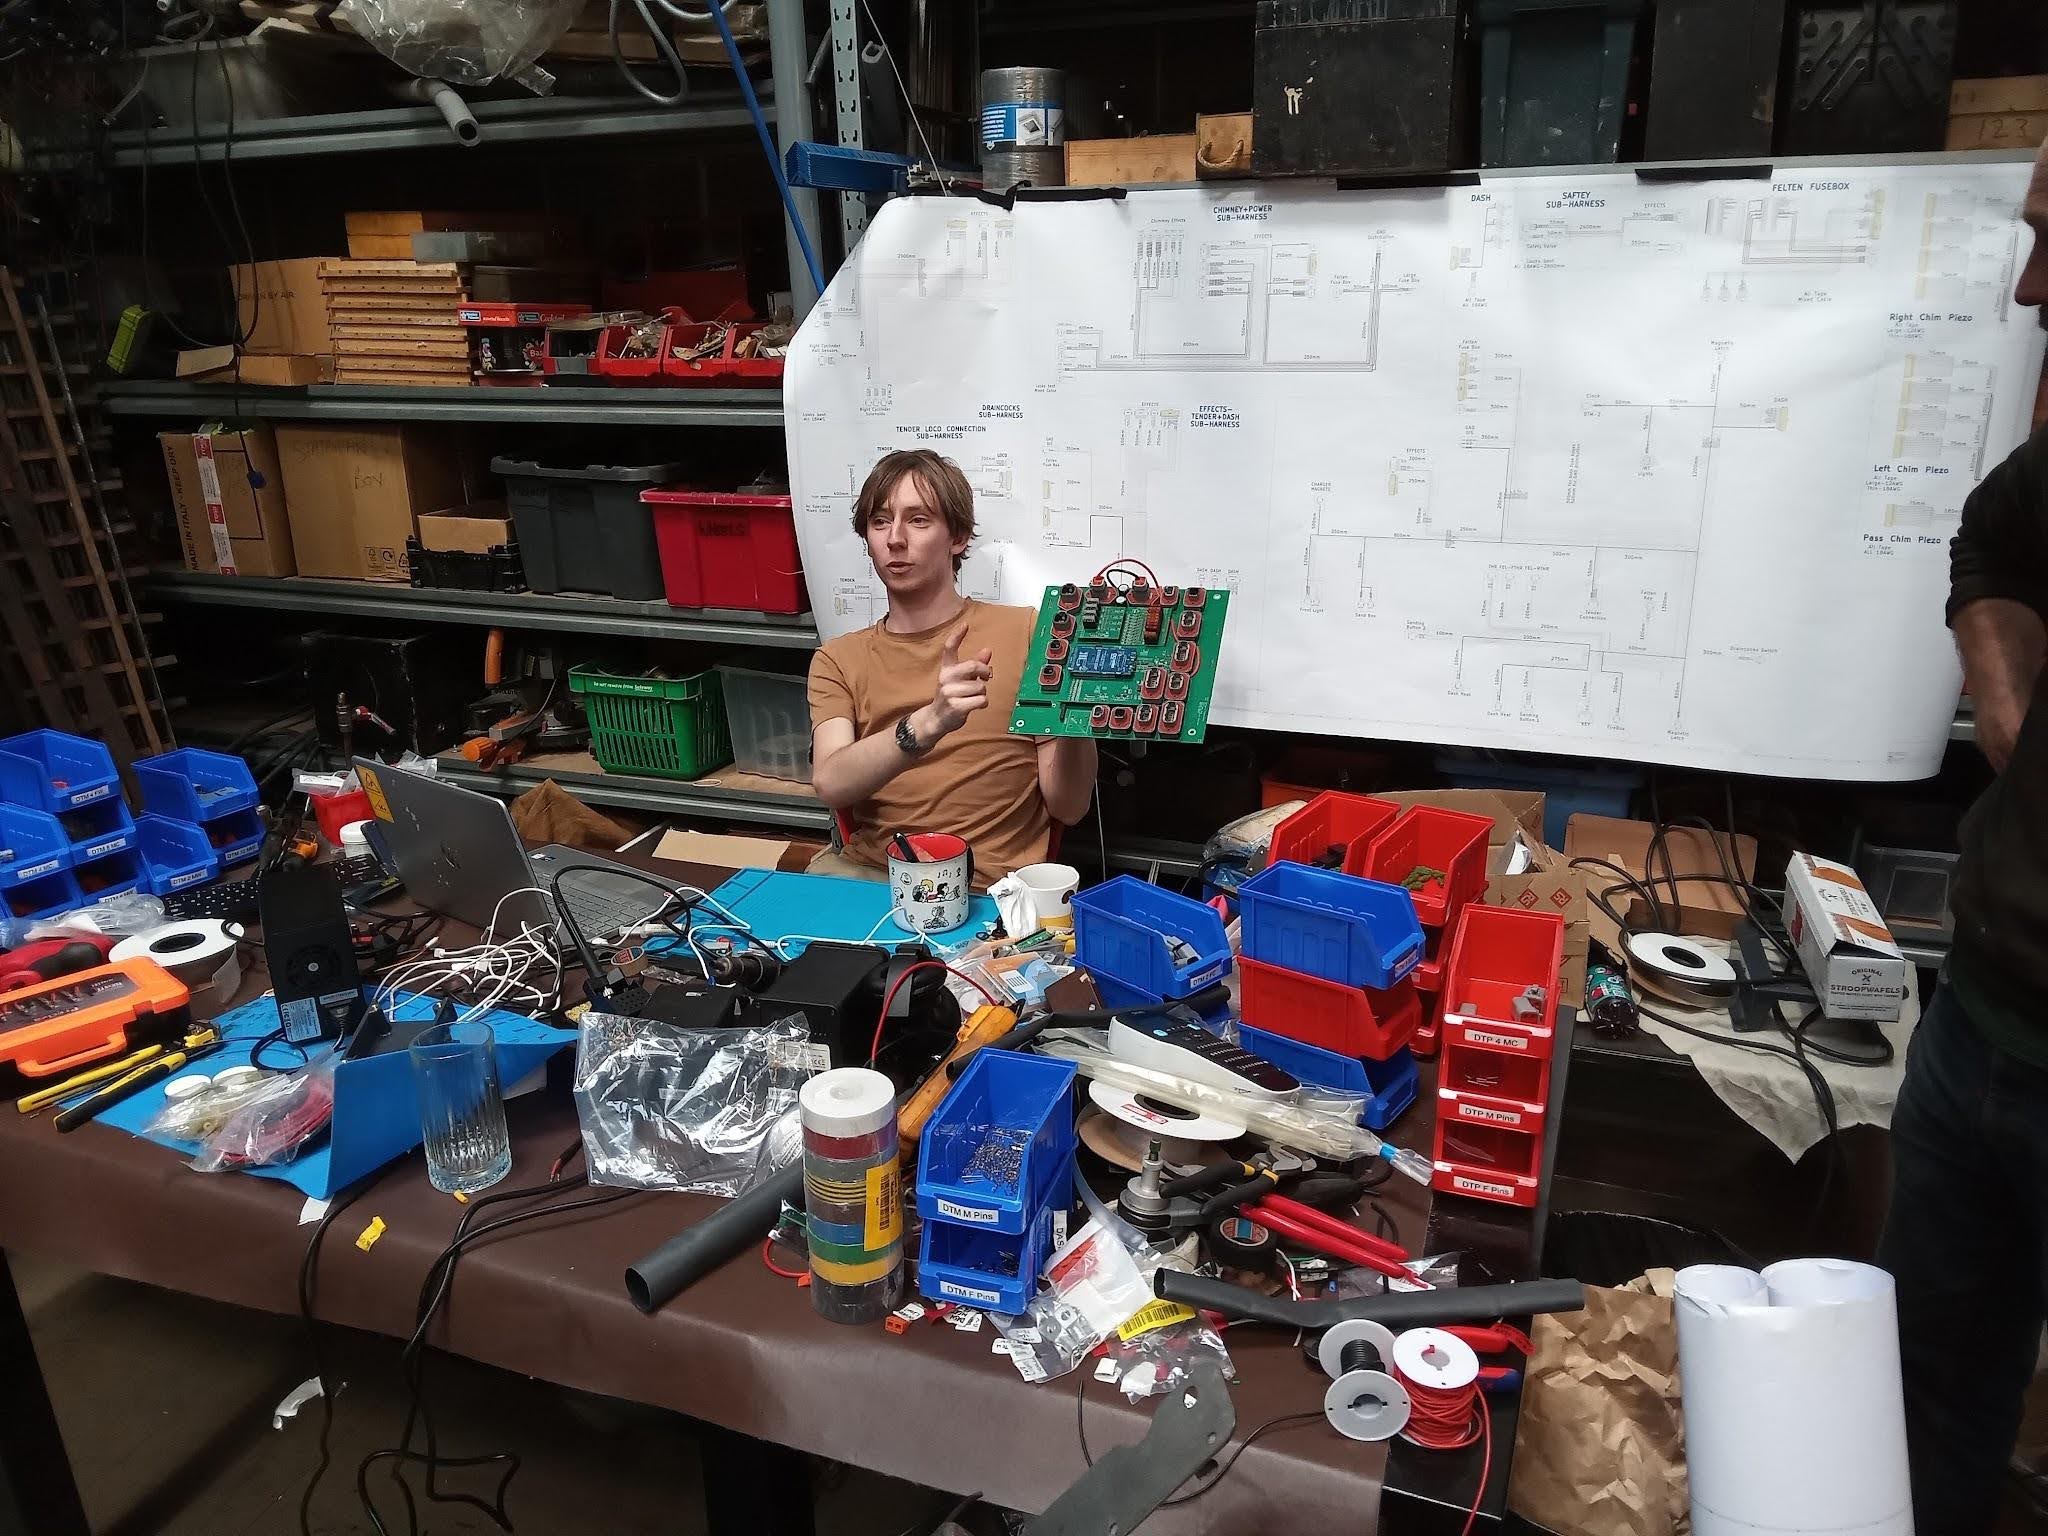
He drew the circuit, and showed us the electrical drawing that you see on the photo, extremely impressed, then we saw the next part that produces the steam.
We then were shown the Piezoelectric atomizers as you can see from the text. I knew bugger all about this device or technology, but I did enquire and the technology is well documented. I did note everyone else seemed to know about it.
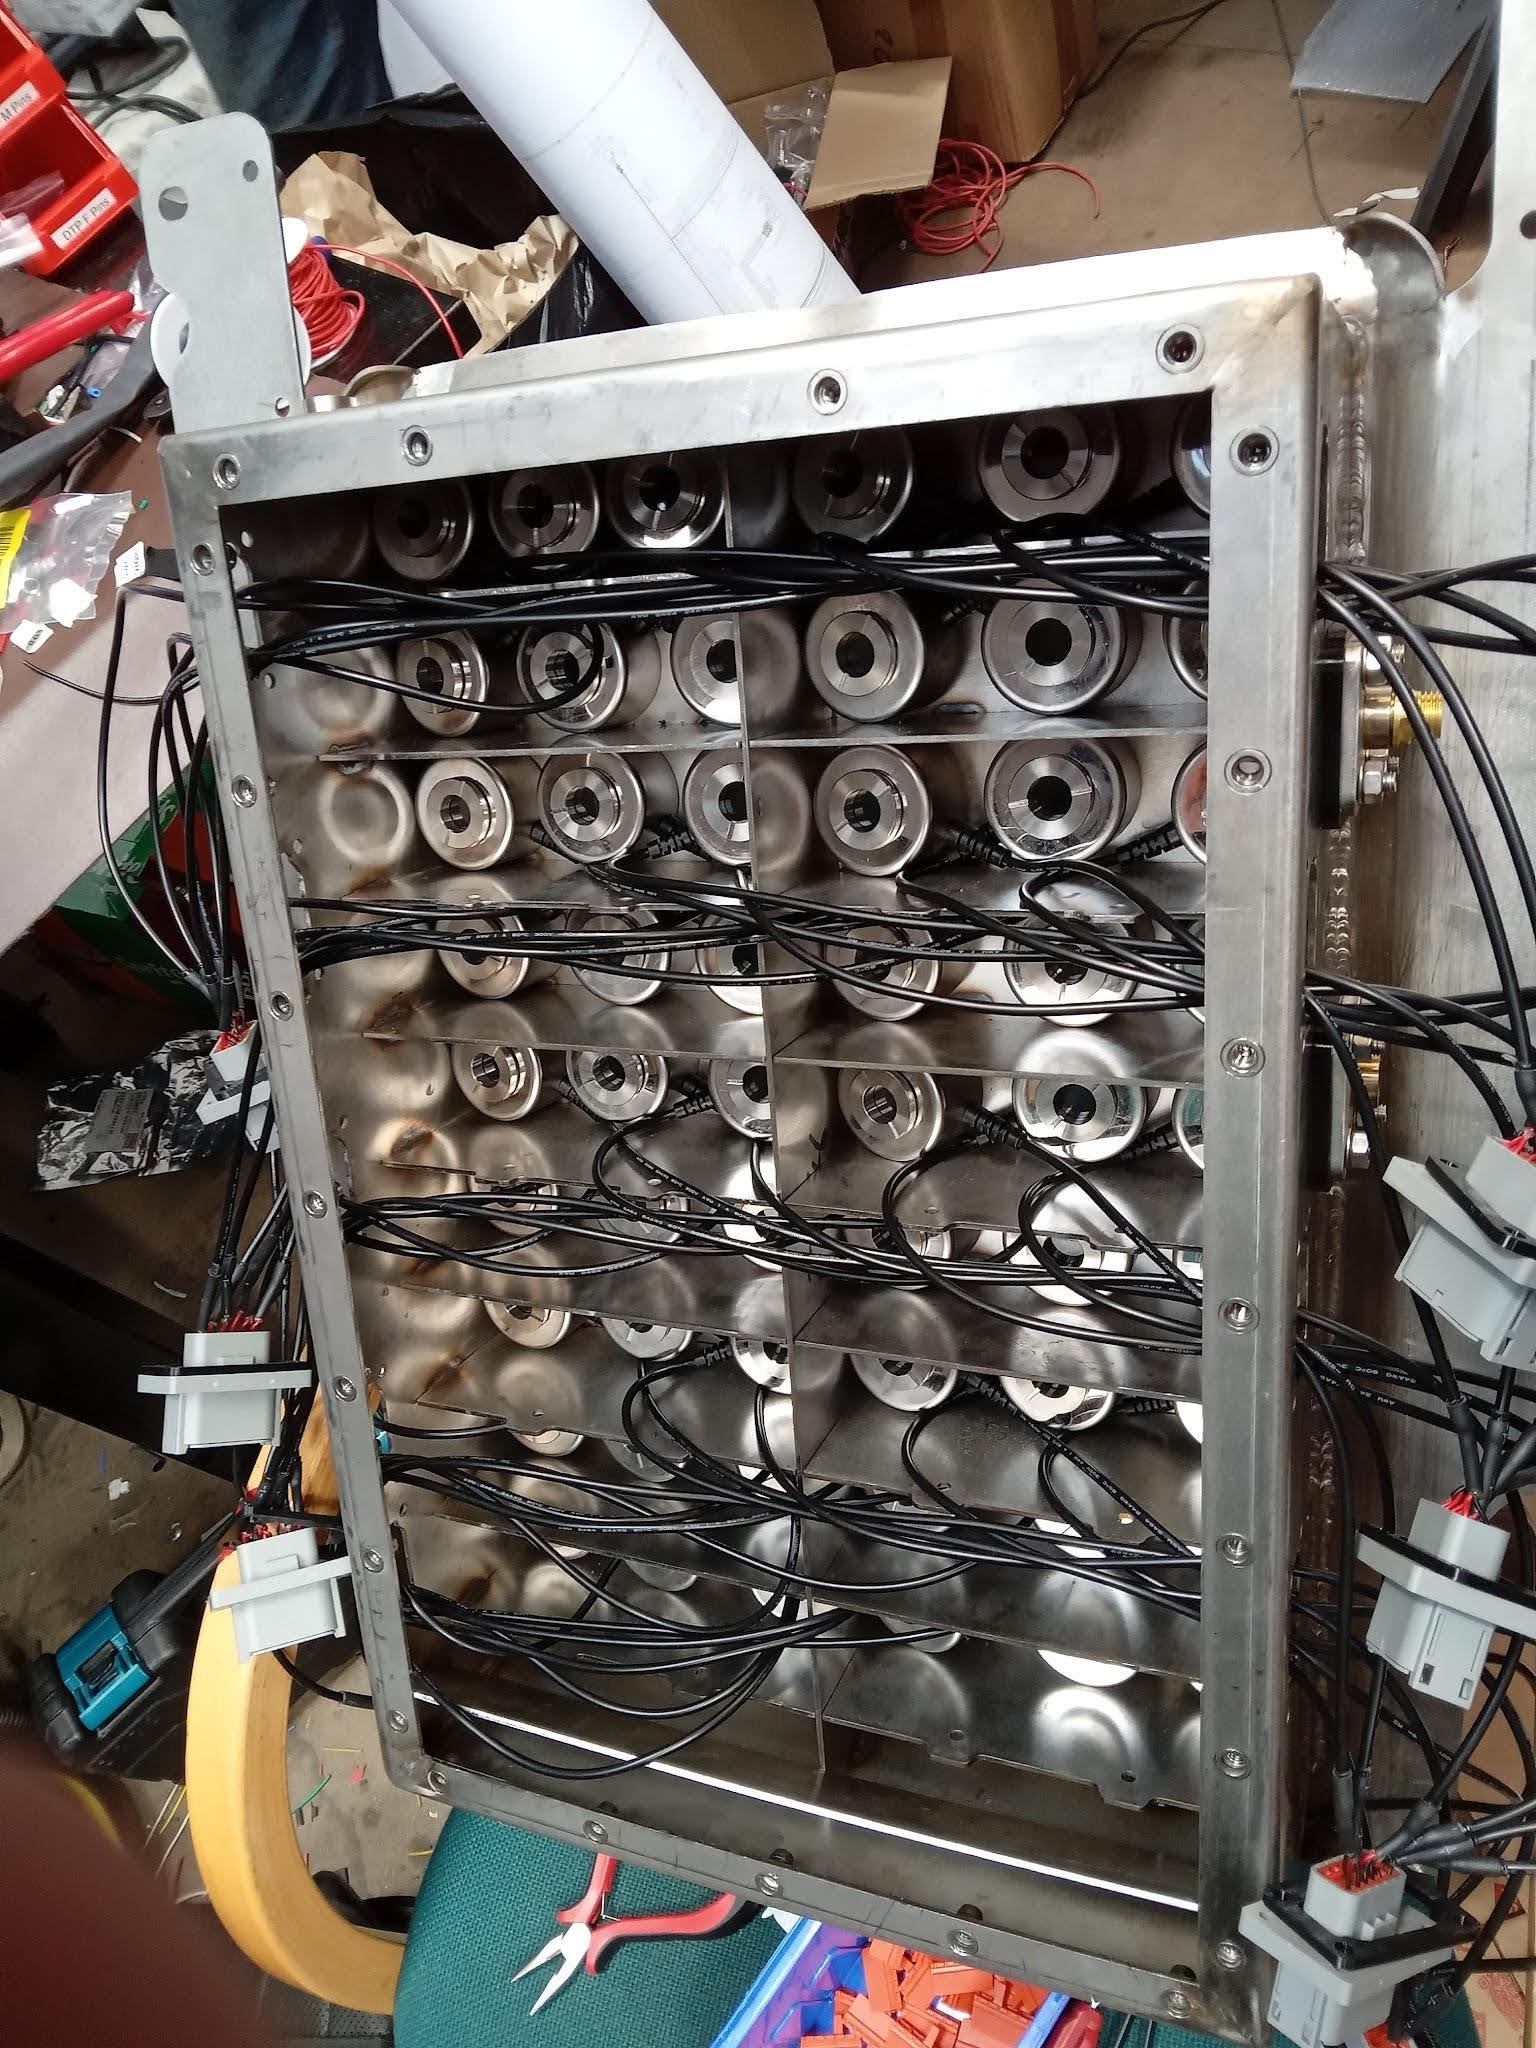
All the wiring done on site, tested and tweaked as required.
Back to the electric train, where to start ?
All the technical calculations done by John Holroyd who Graham informs me is a brilliant engineer and mad about his job. Ian Blakeley had told me about mass and the importance of it for traction, to drive the wheels, so I can imagine this train has needed some calculations to ensure it actually works.
The charger socket is hidden away and is operated by a lever/switch no doubt with a noise, the amount of thought that has gone into the design is mind blowing.
The wheels are scaled down rail wheels, having had some on the borer at Wetherby Eng I do appreciate the thought that the original engineers put into all.
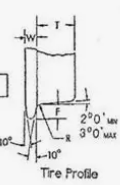
The wheels in steel are roughed out on the manual lathe and long bed Colchester 2000, that just happened to be round the corner in the workshop.Then finished profiled on the Haas cnc lathe.
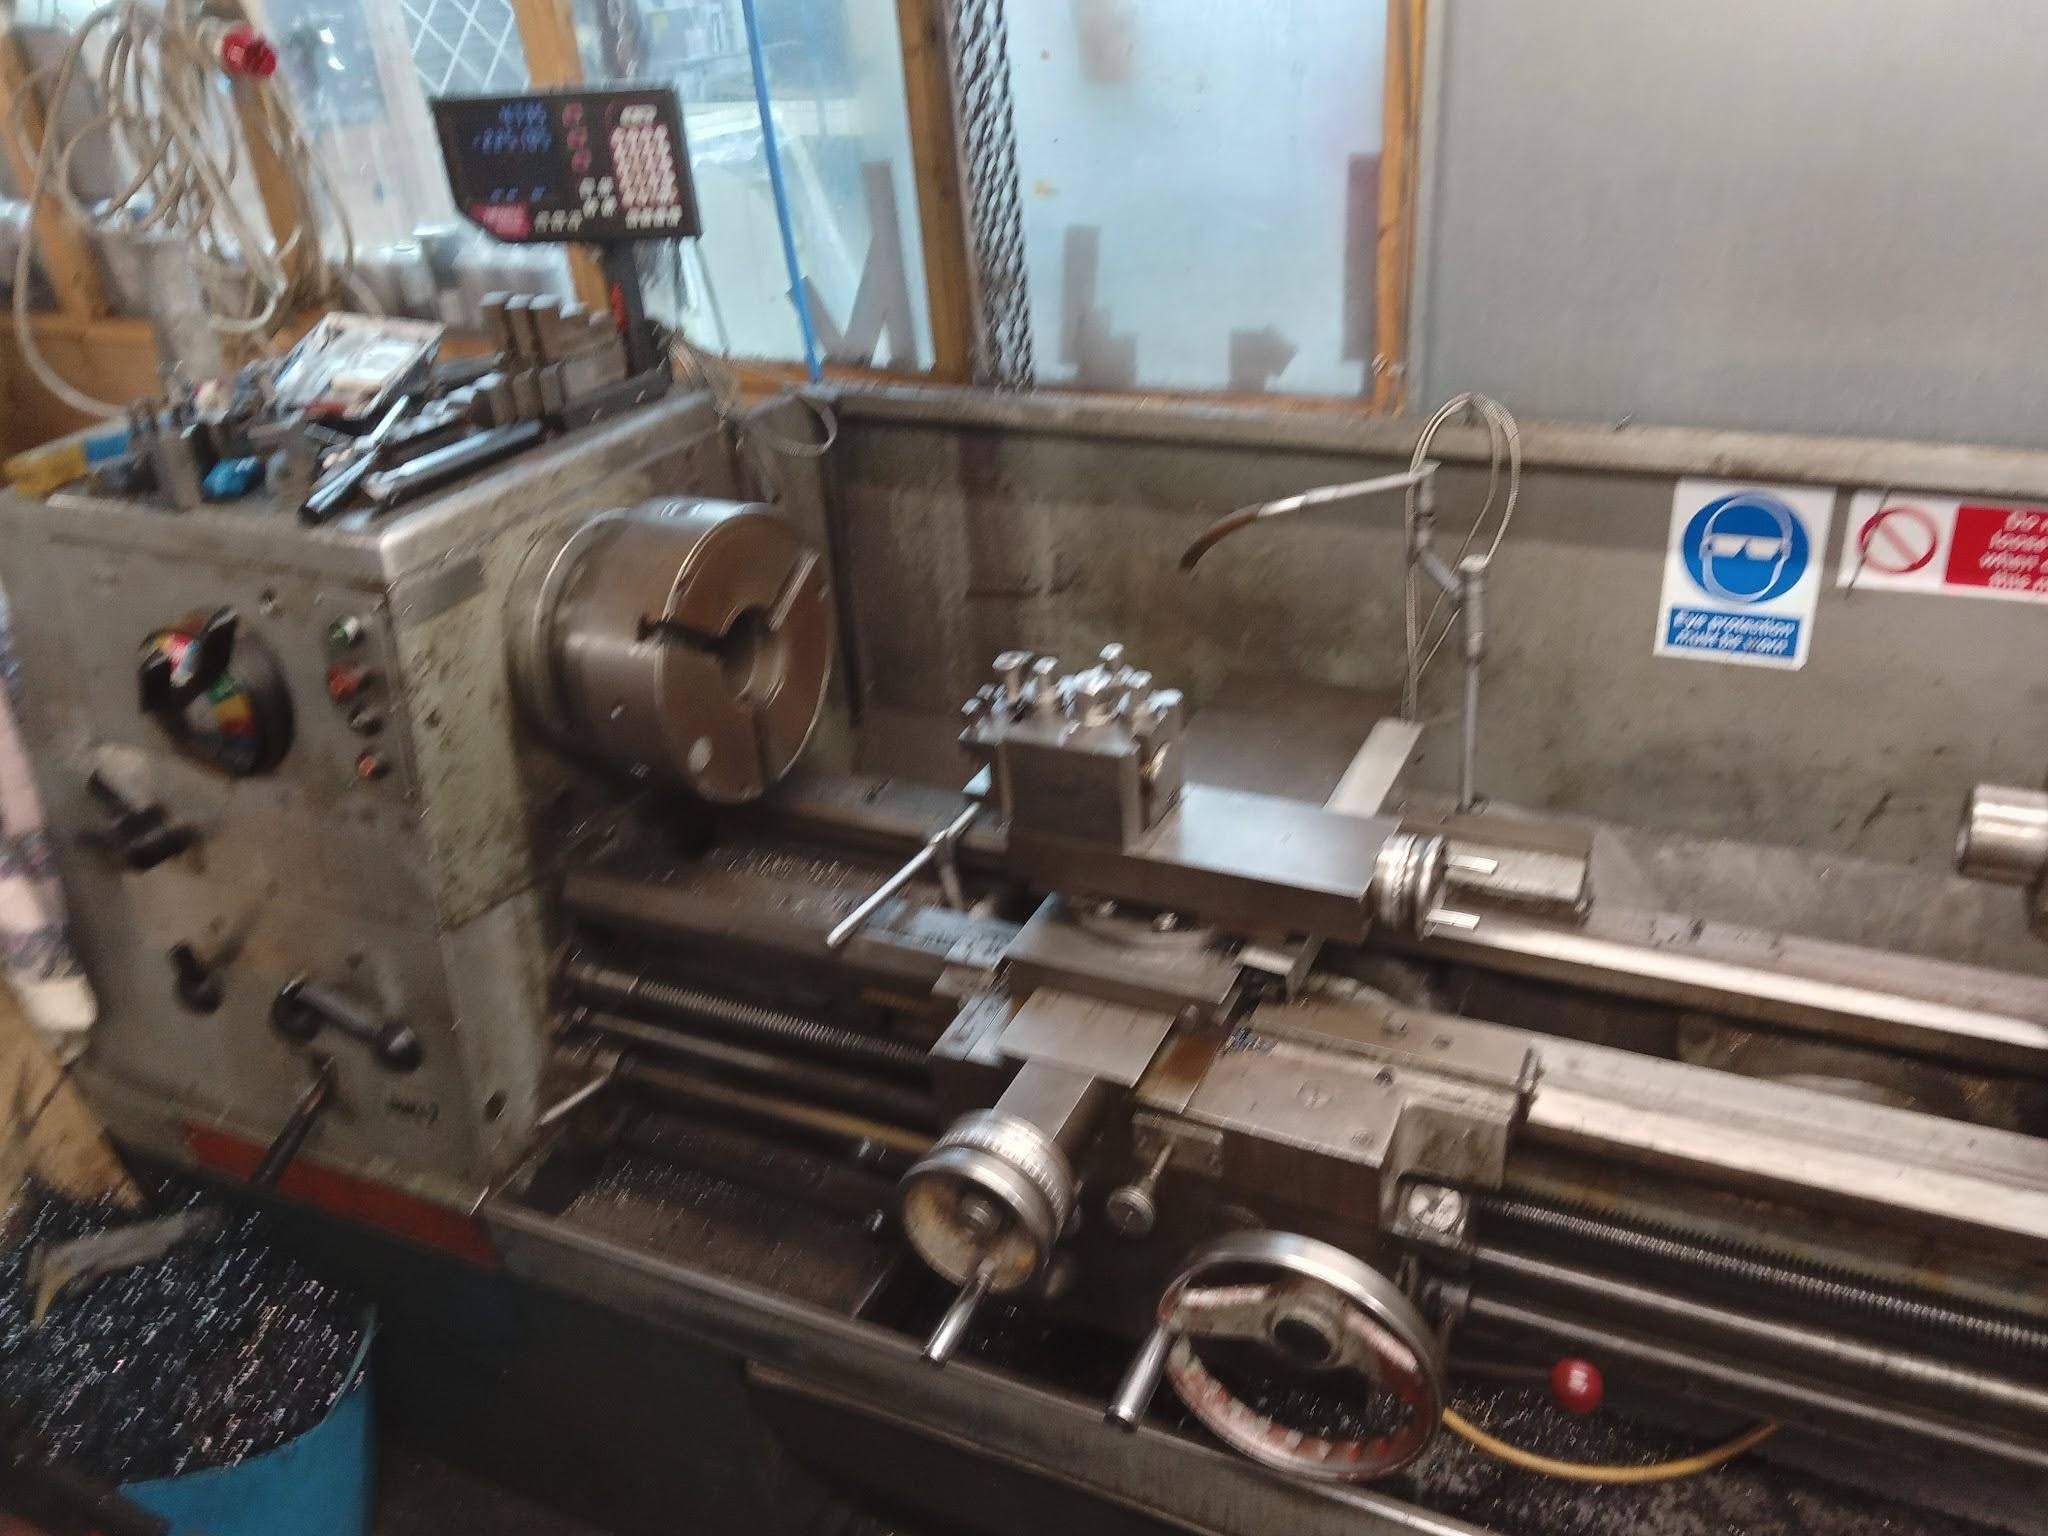
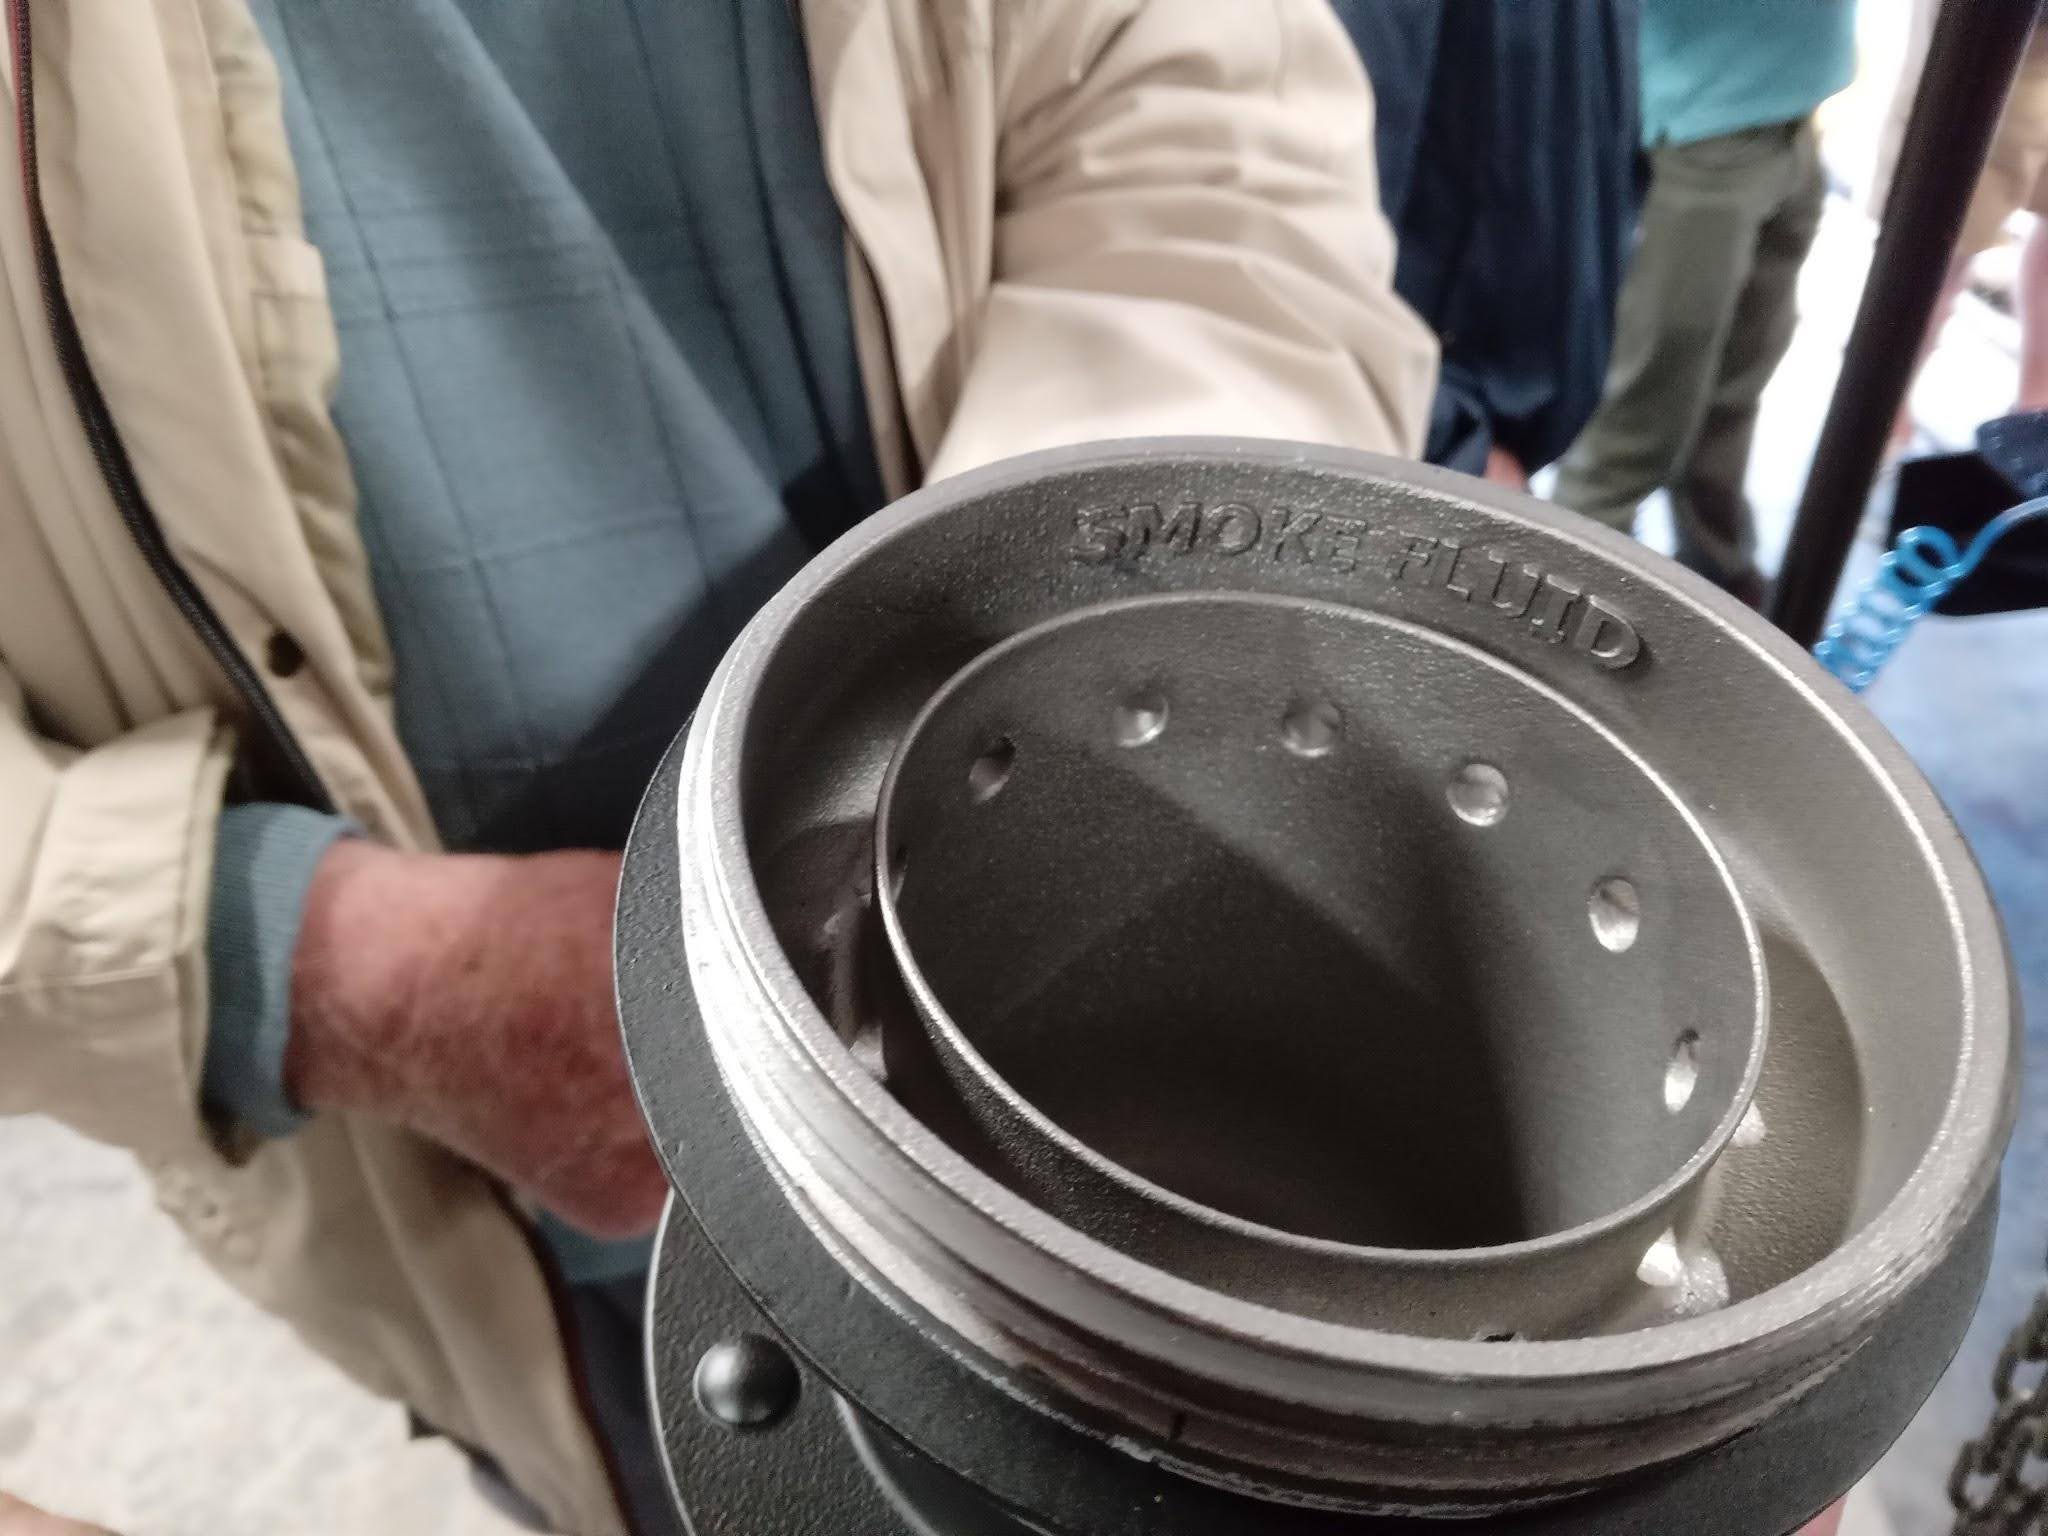
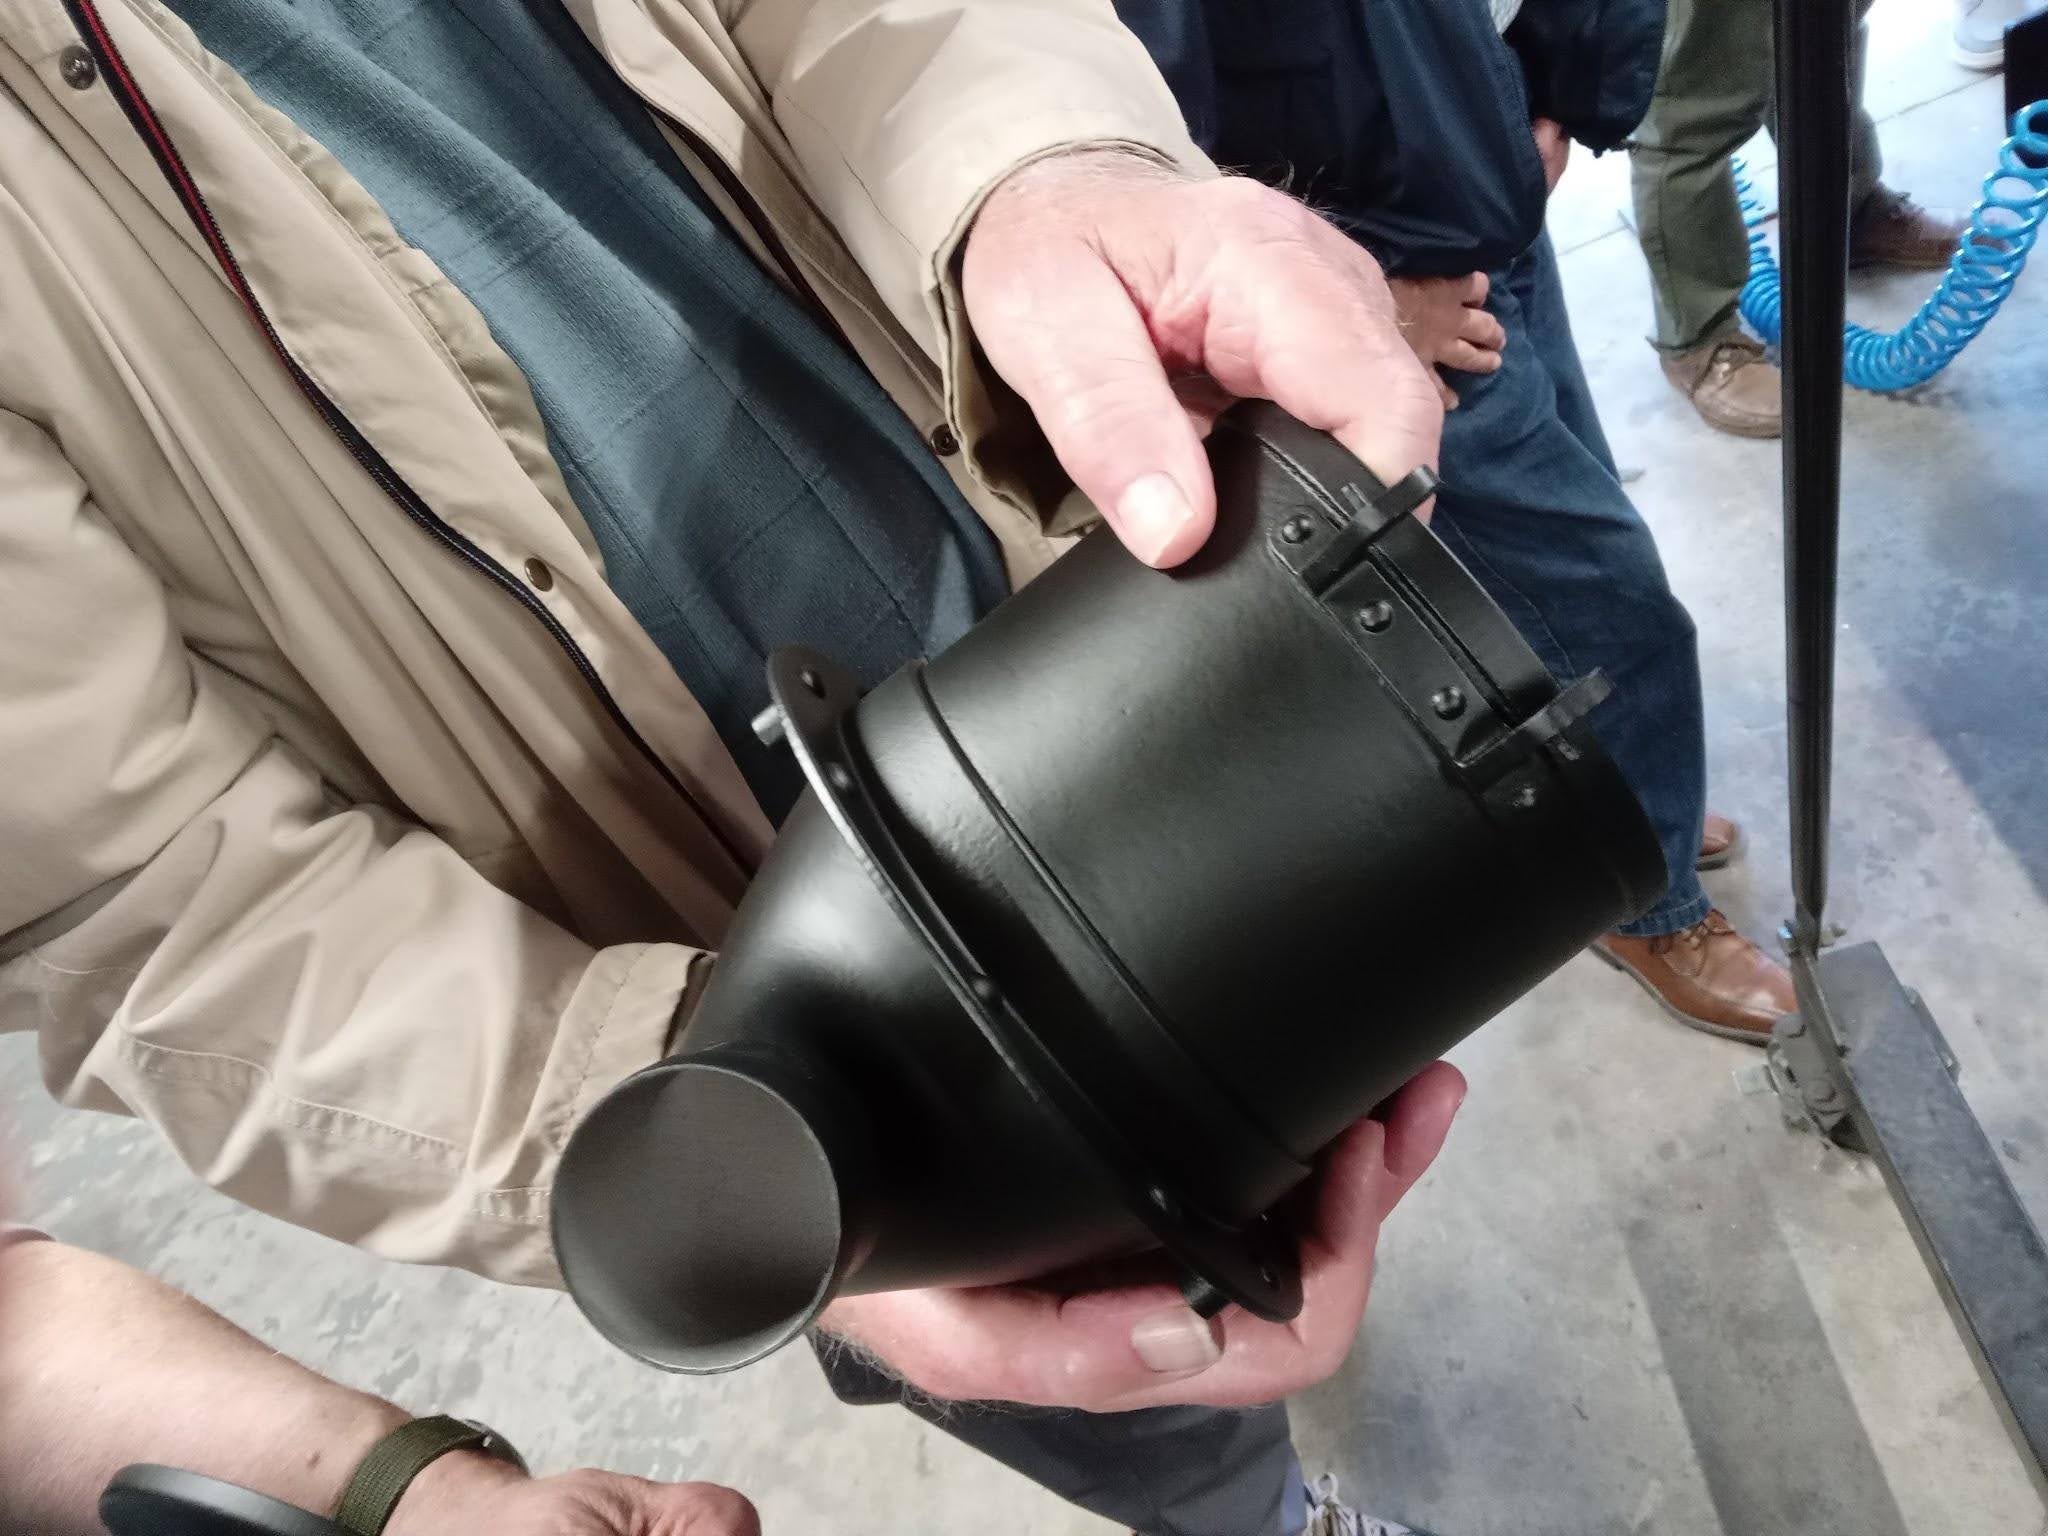
The funnel was cast in aluminium locally using the 3d printed mould again CAD drawn and printed out on site. We were shown another part, again cast locally, so don’t forget if you get stuck we have some highly skilled engineers, traditional foundry to modern state of the art design.
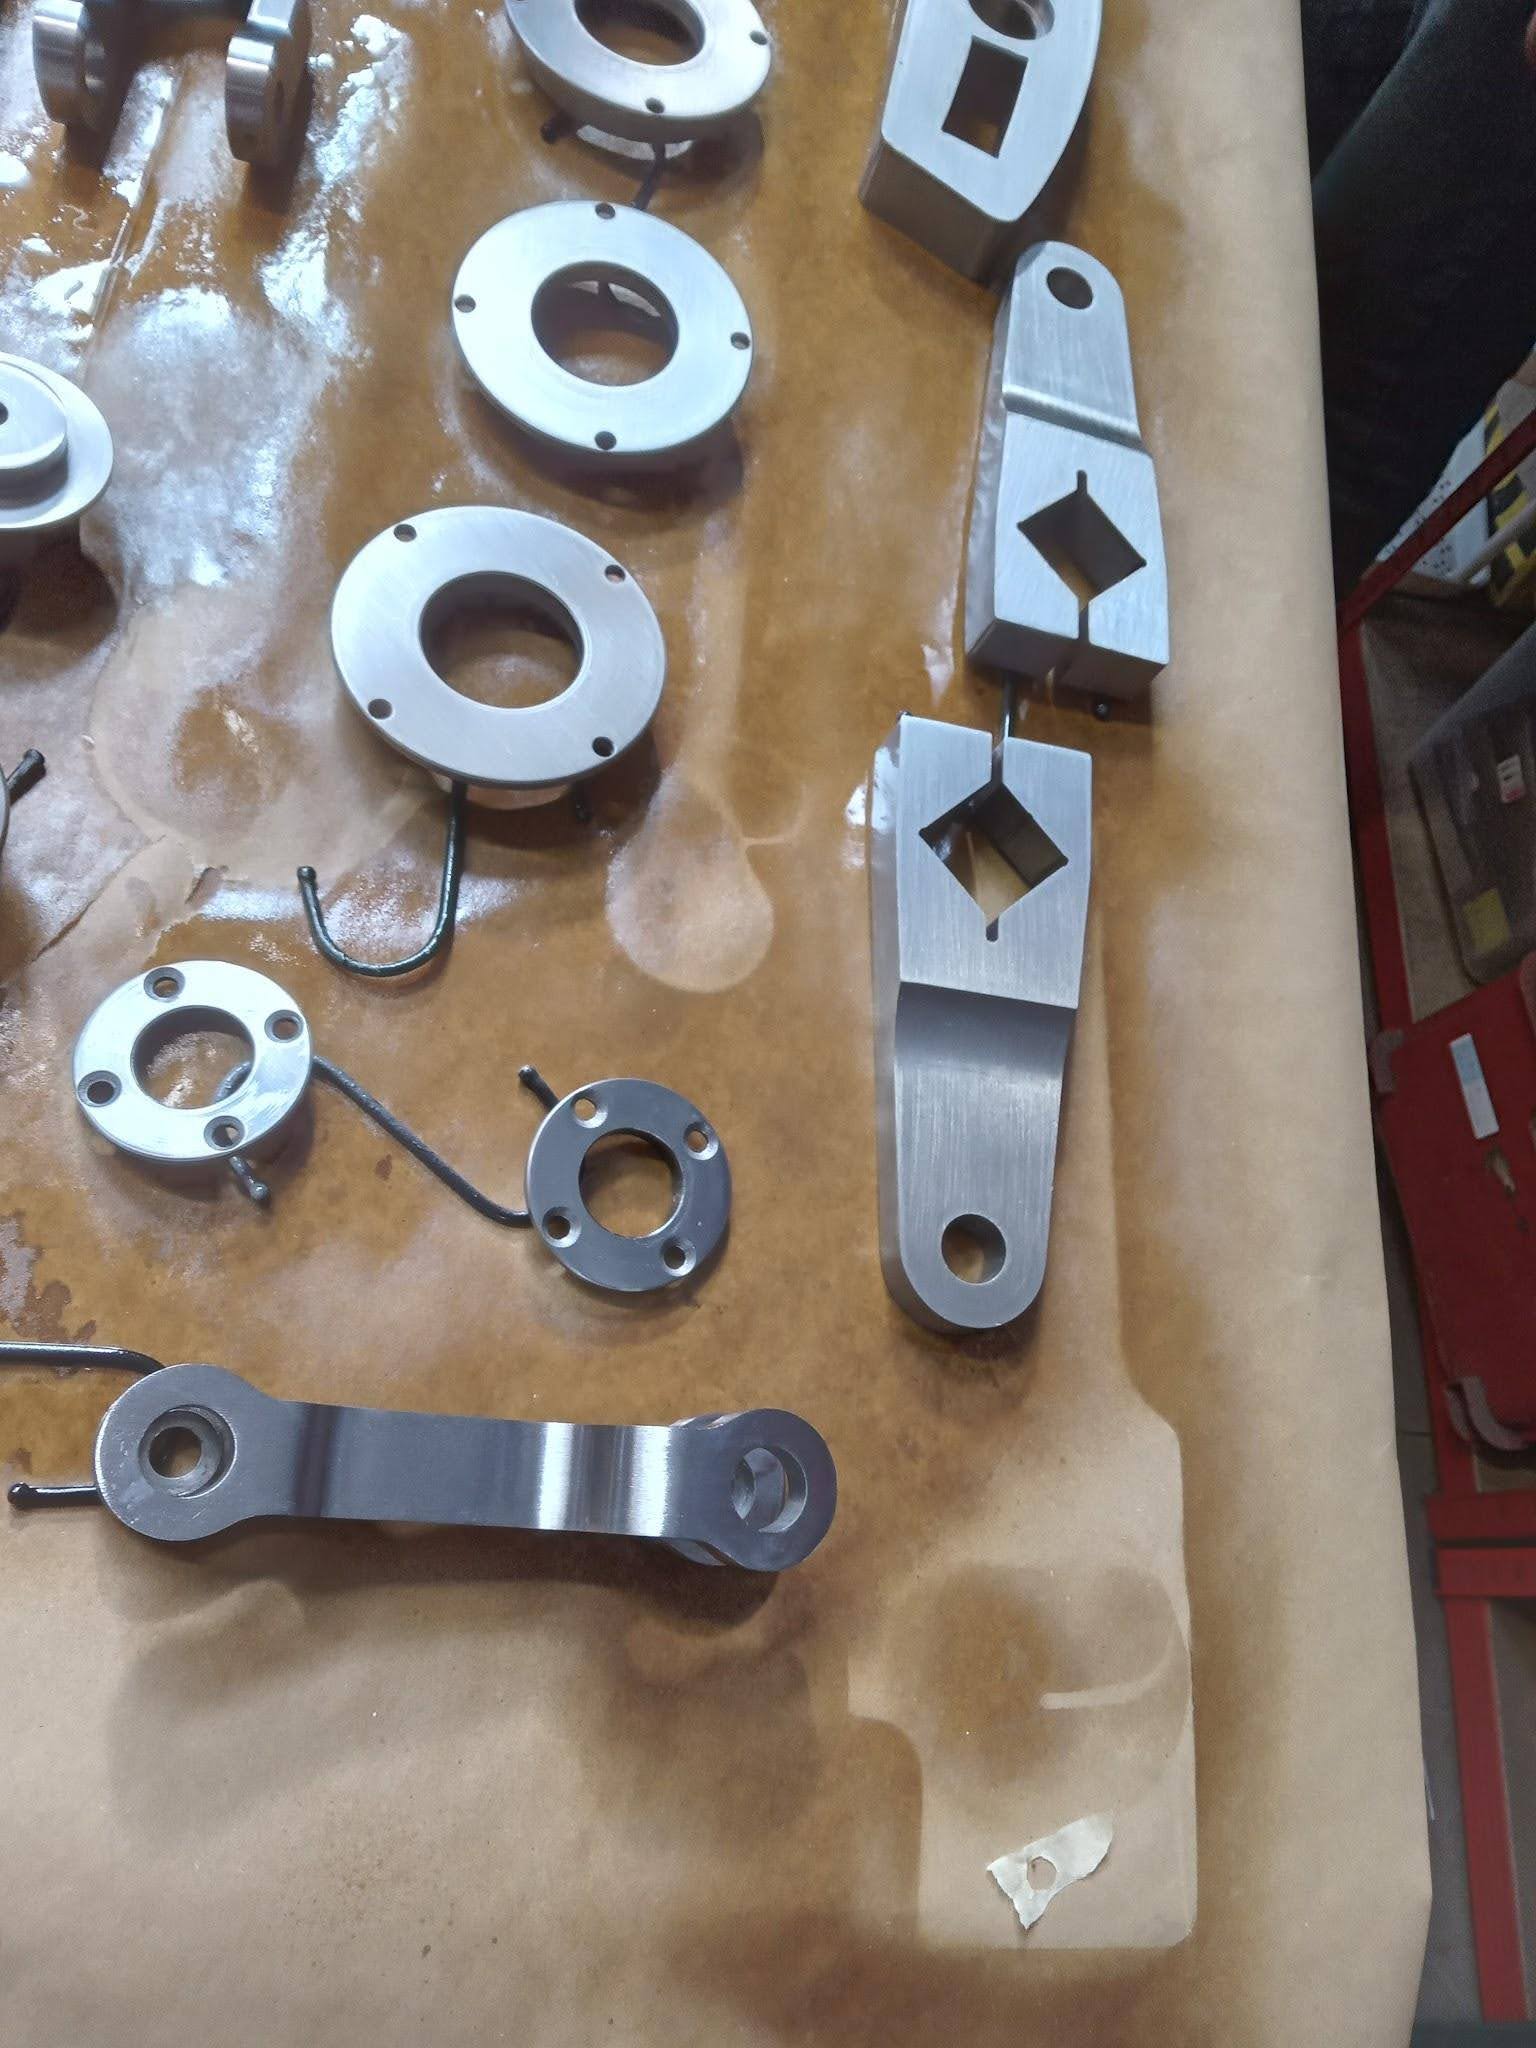
Now we come to some parts 3D printed in stainless steel. I used to scoff at 3D printing having been shown them 3 years ago at Leeds City College, the plastic parts looked good and the shapes were extremely complicated and would need lost wax casting to do conventionally, that technology is ancient. The metal samples were in my view rubbish, but the college did buy some cheap printers, took forever and sometimes didn’t turn out well. So I was very impressed to see how things have moved on.
John B has this stainless steel 3D printed item, it was fantastic the 3D drawing was put on a website for Chinese companies to bid on the job.
Have a look at the parts, what do you think, it would take an engineer a good deal of time to make the part any other way.
Parts have been painted but do you agree on how good they look.
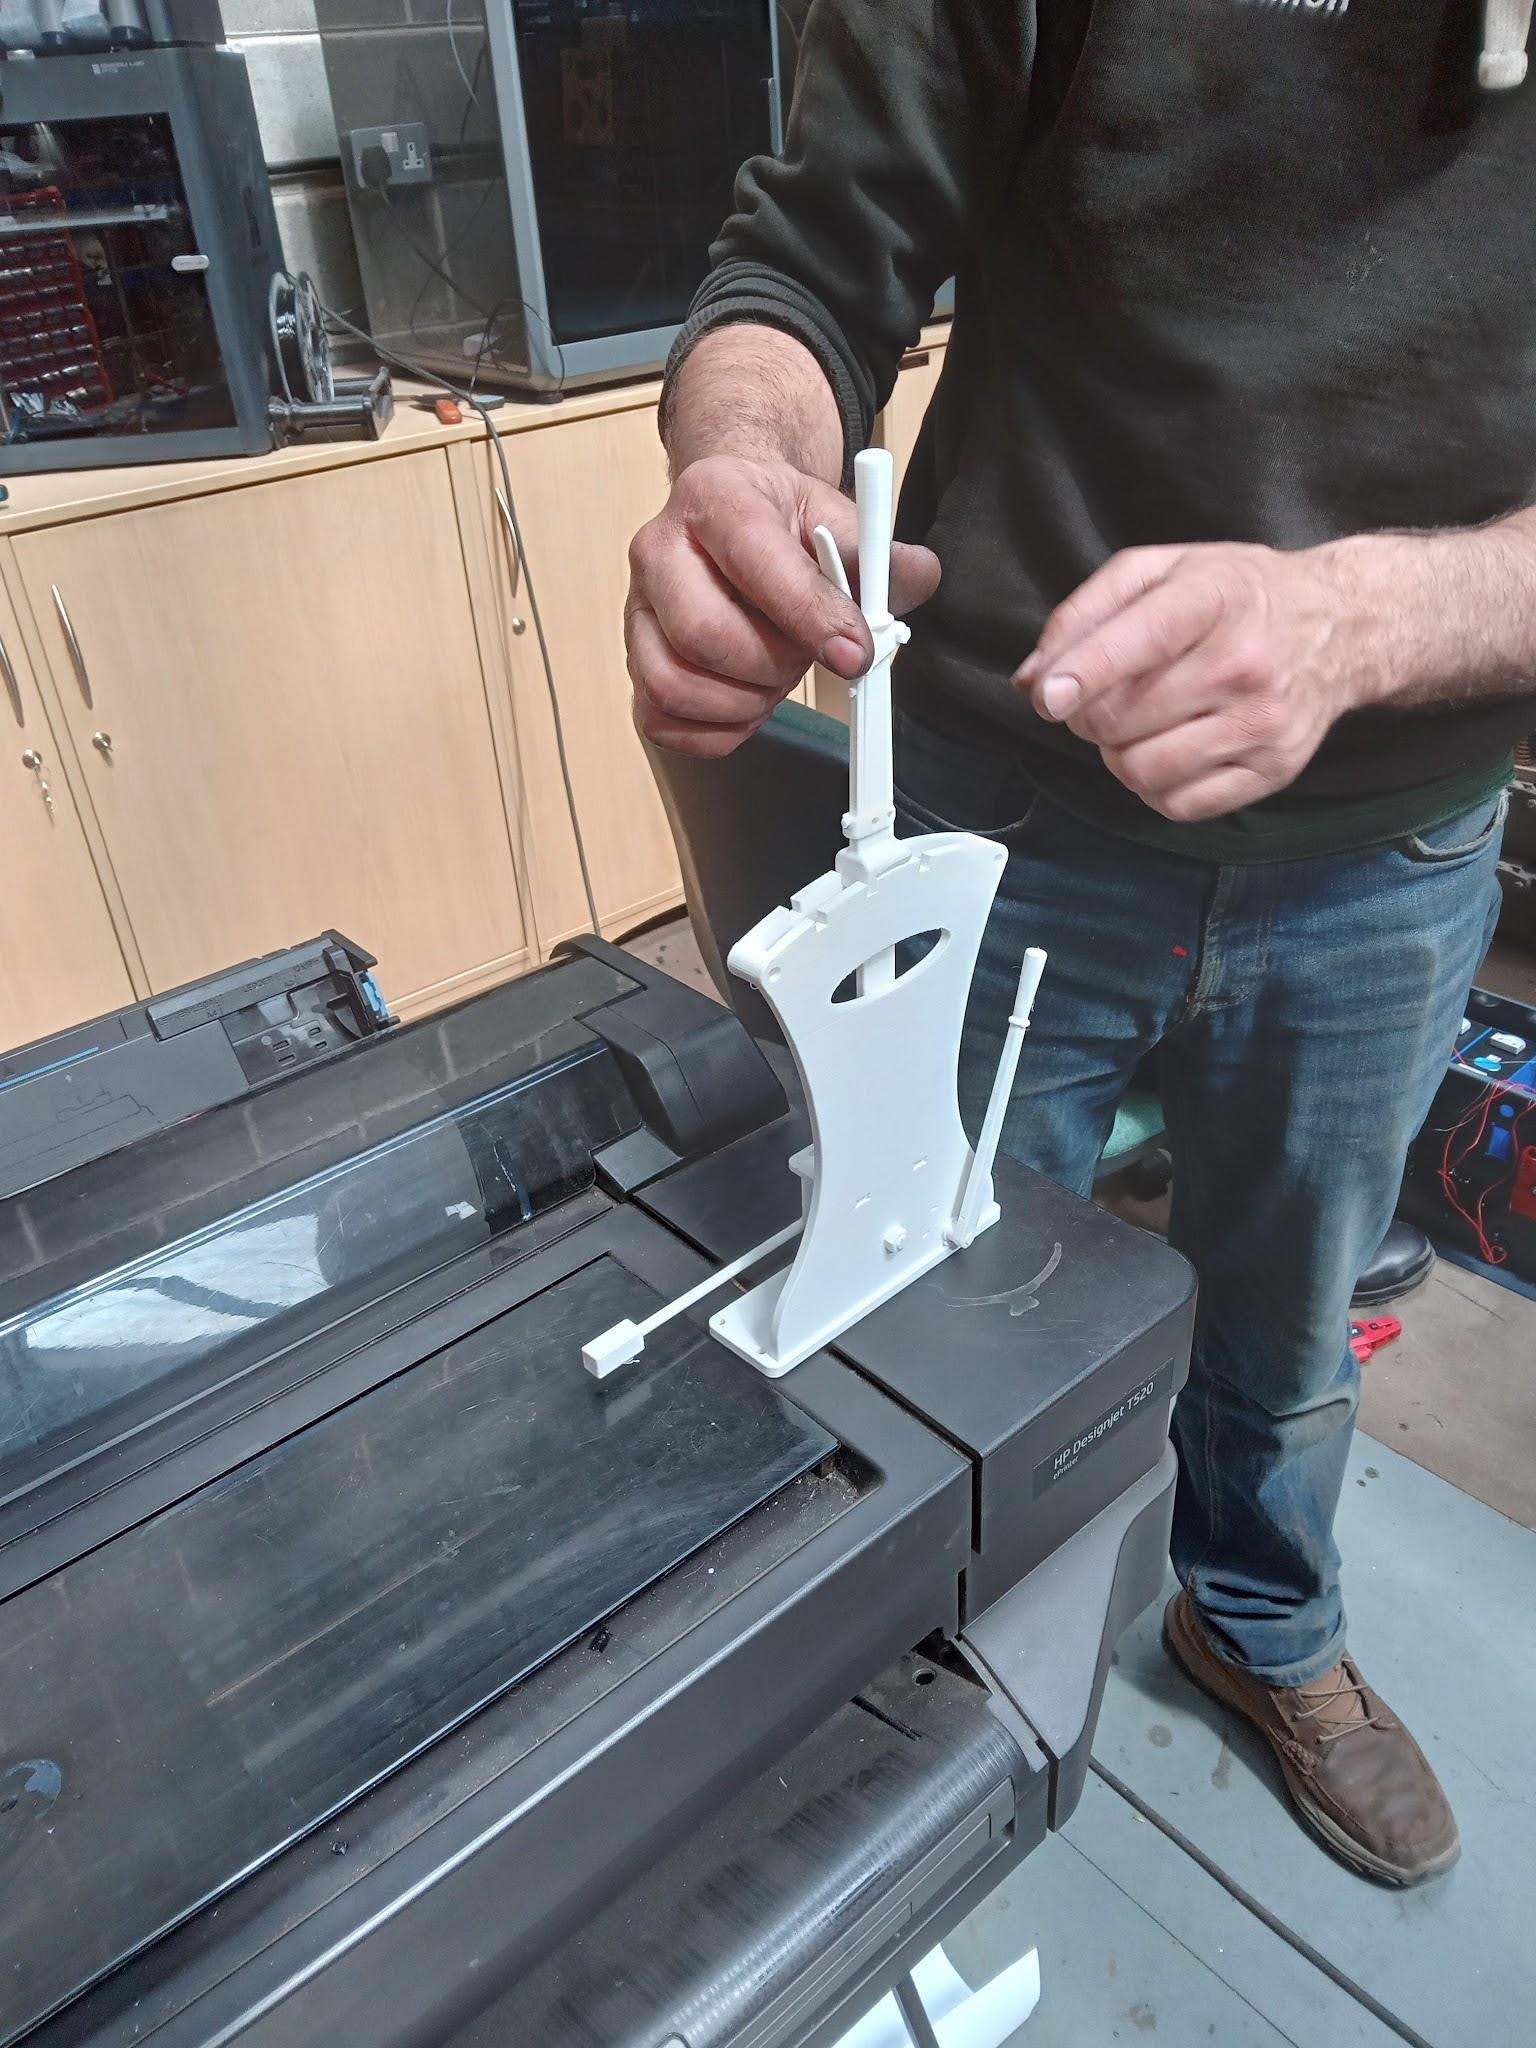
The train pulls a carriage (if that is the correct term ?) the rear wheels have been designed to track in a way, that engineers struggle with when scaling from full scale.
This a view of the wheel mechanism that will make sure on tight bends the wheels stay in the correct position. Even the seats have been designed on the premises (I don’t like the words in house) and upholstered locally.

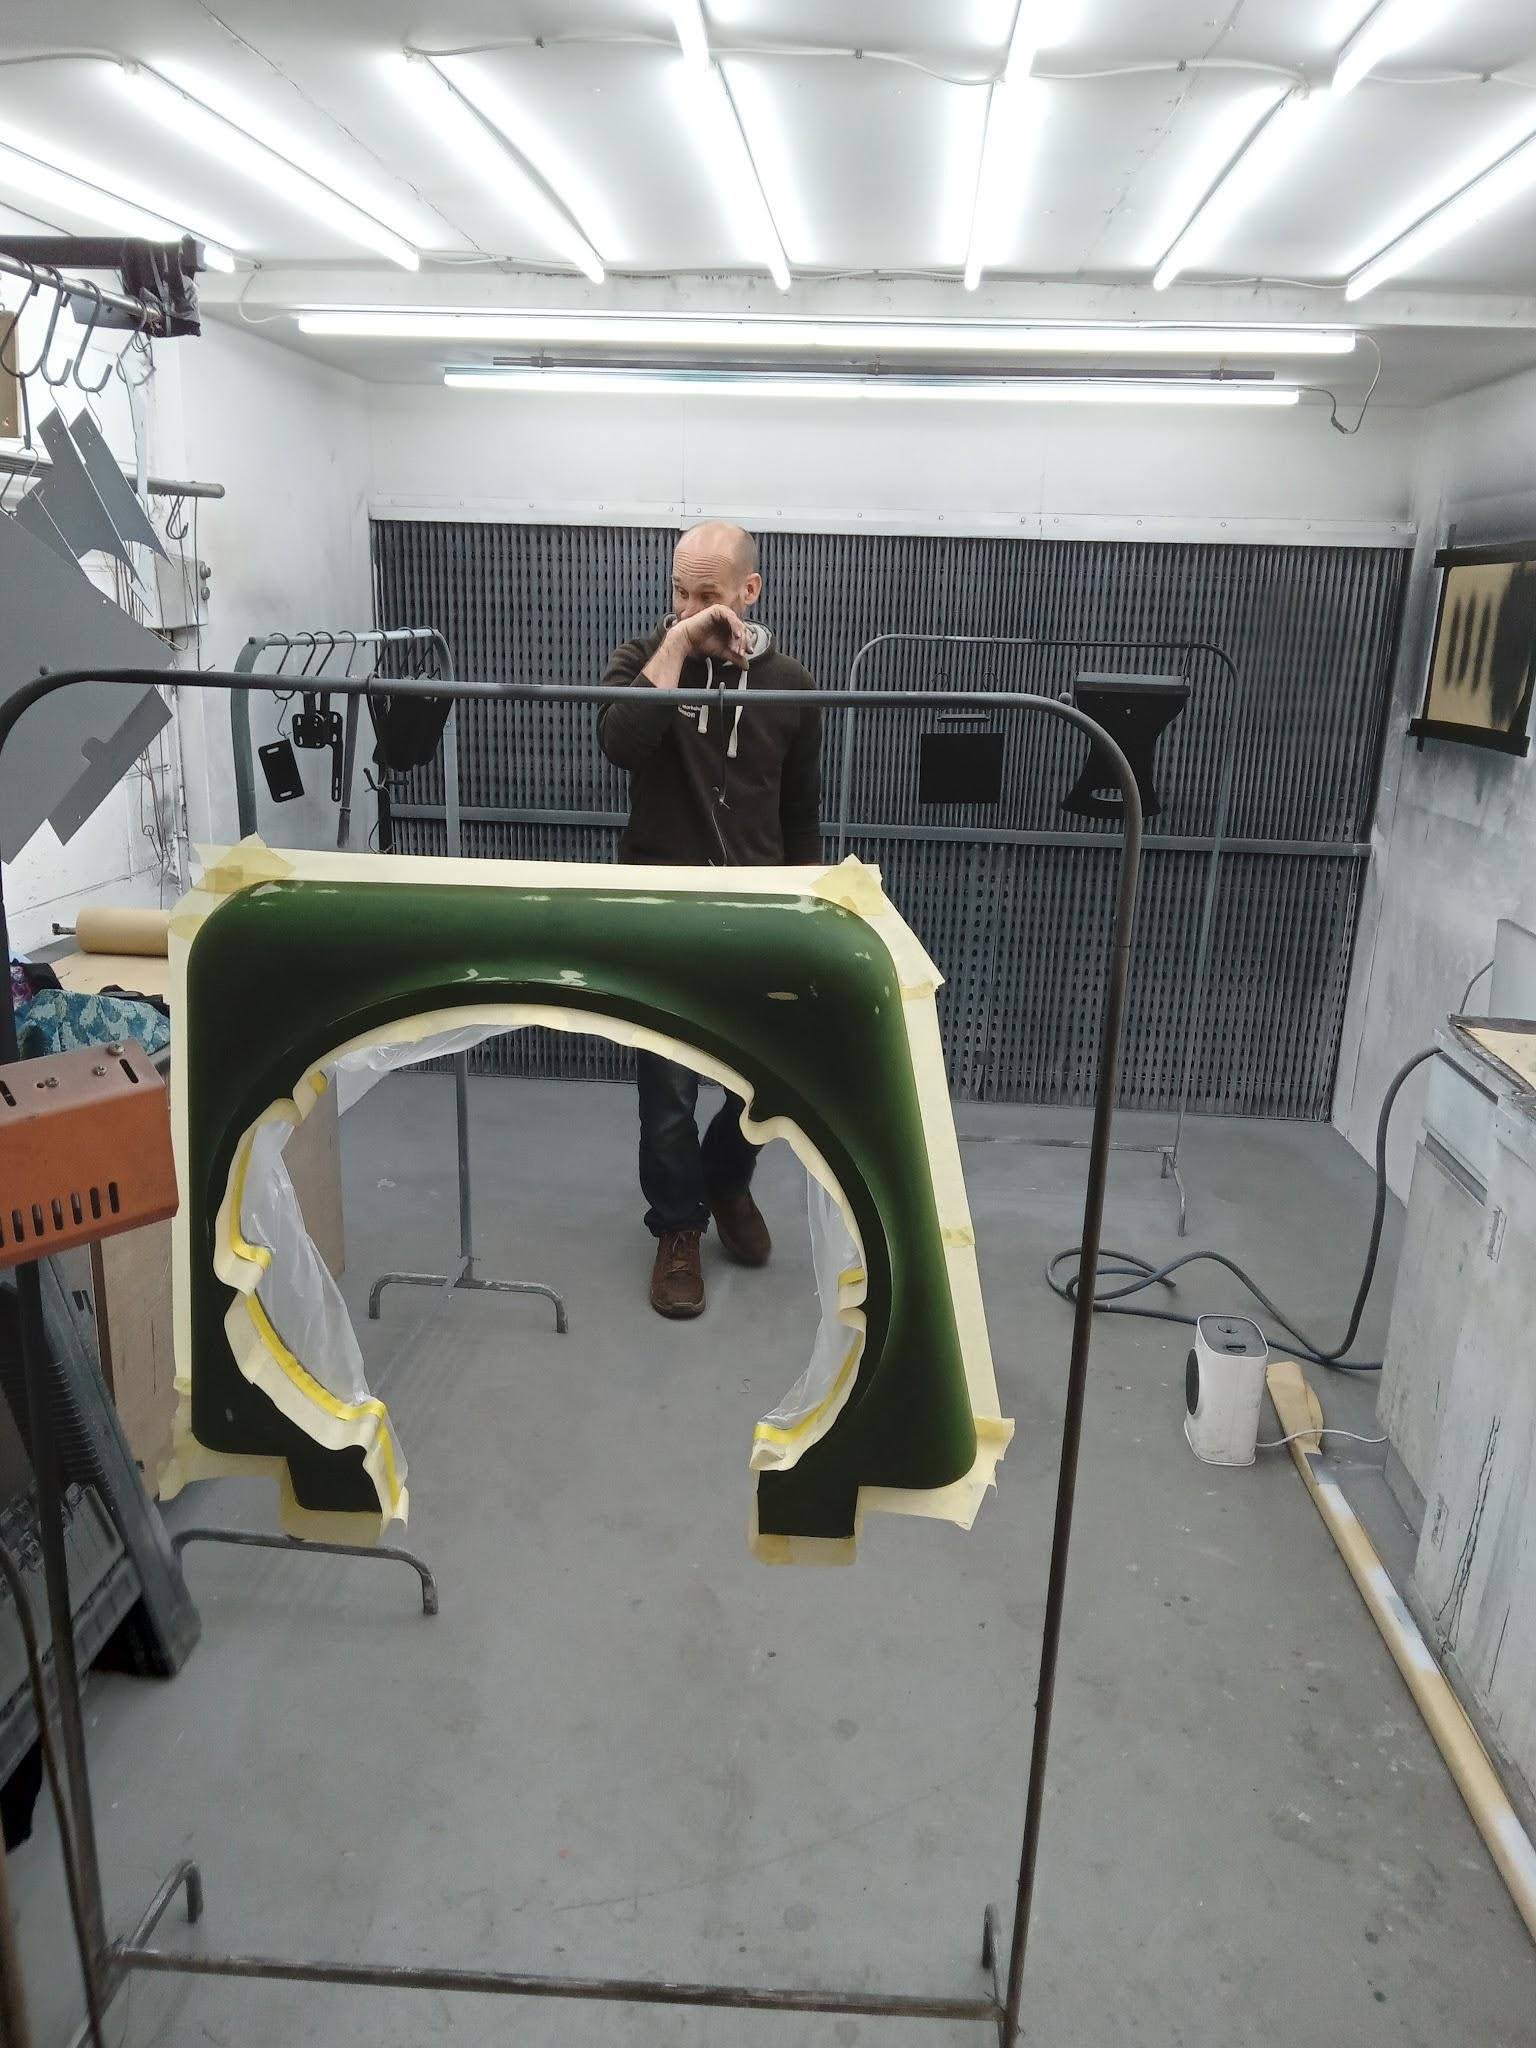
We saw some interesting ways around engineering problems, the sheet metal for instance a tray that I failed to photo, it had rounded corners, the corners were made on a 3D printer in stainless and then TIG welded and later painted in the booth above.
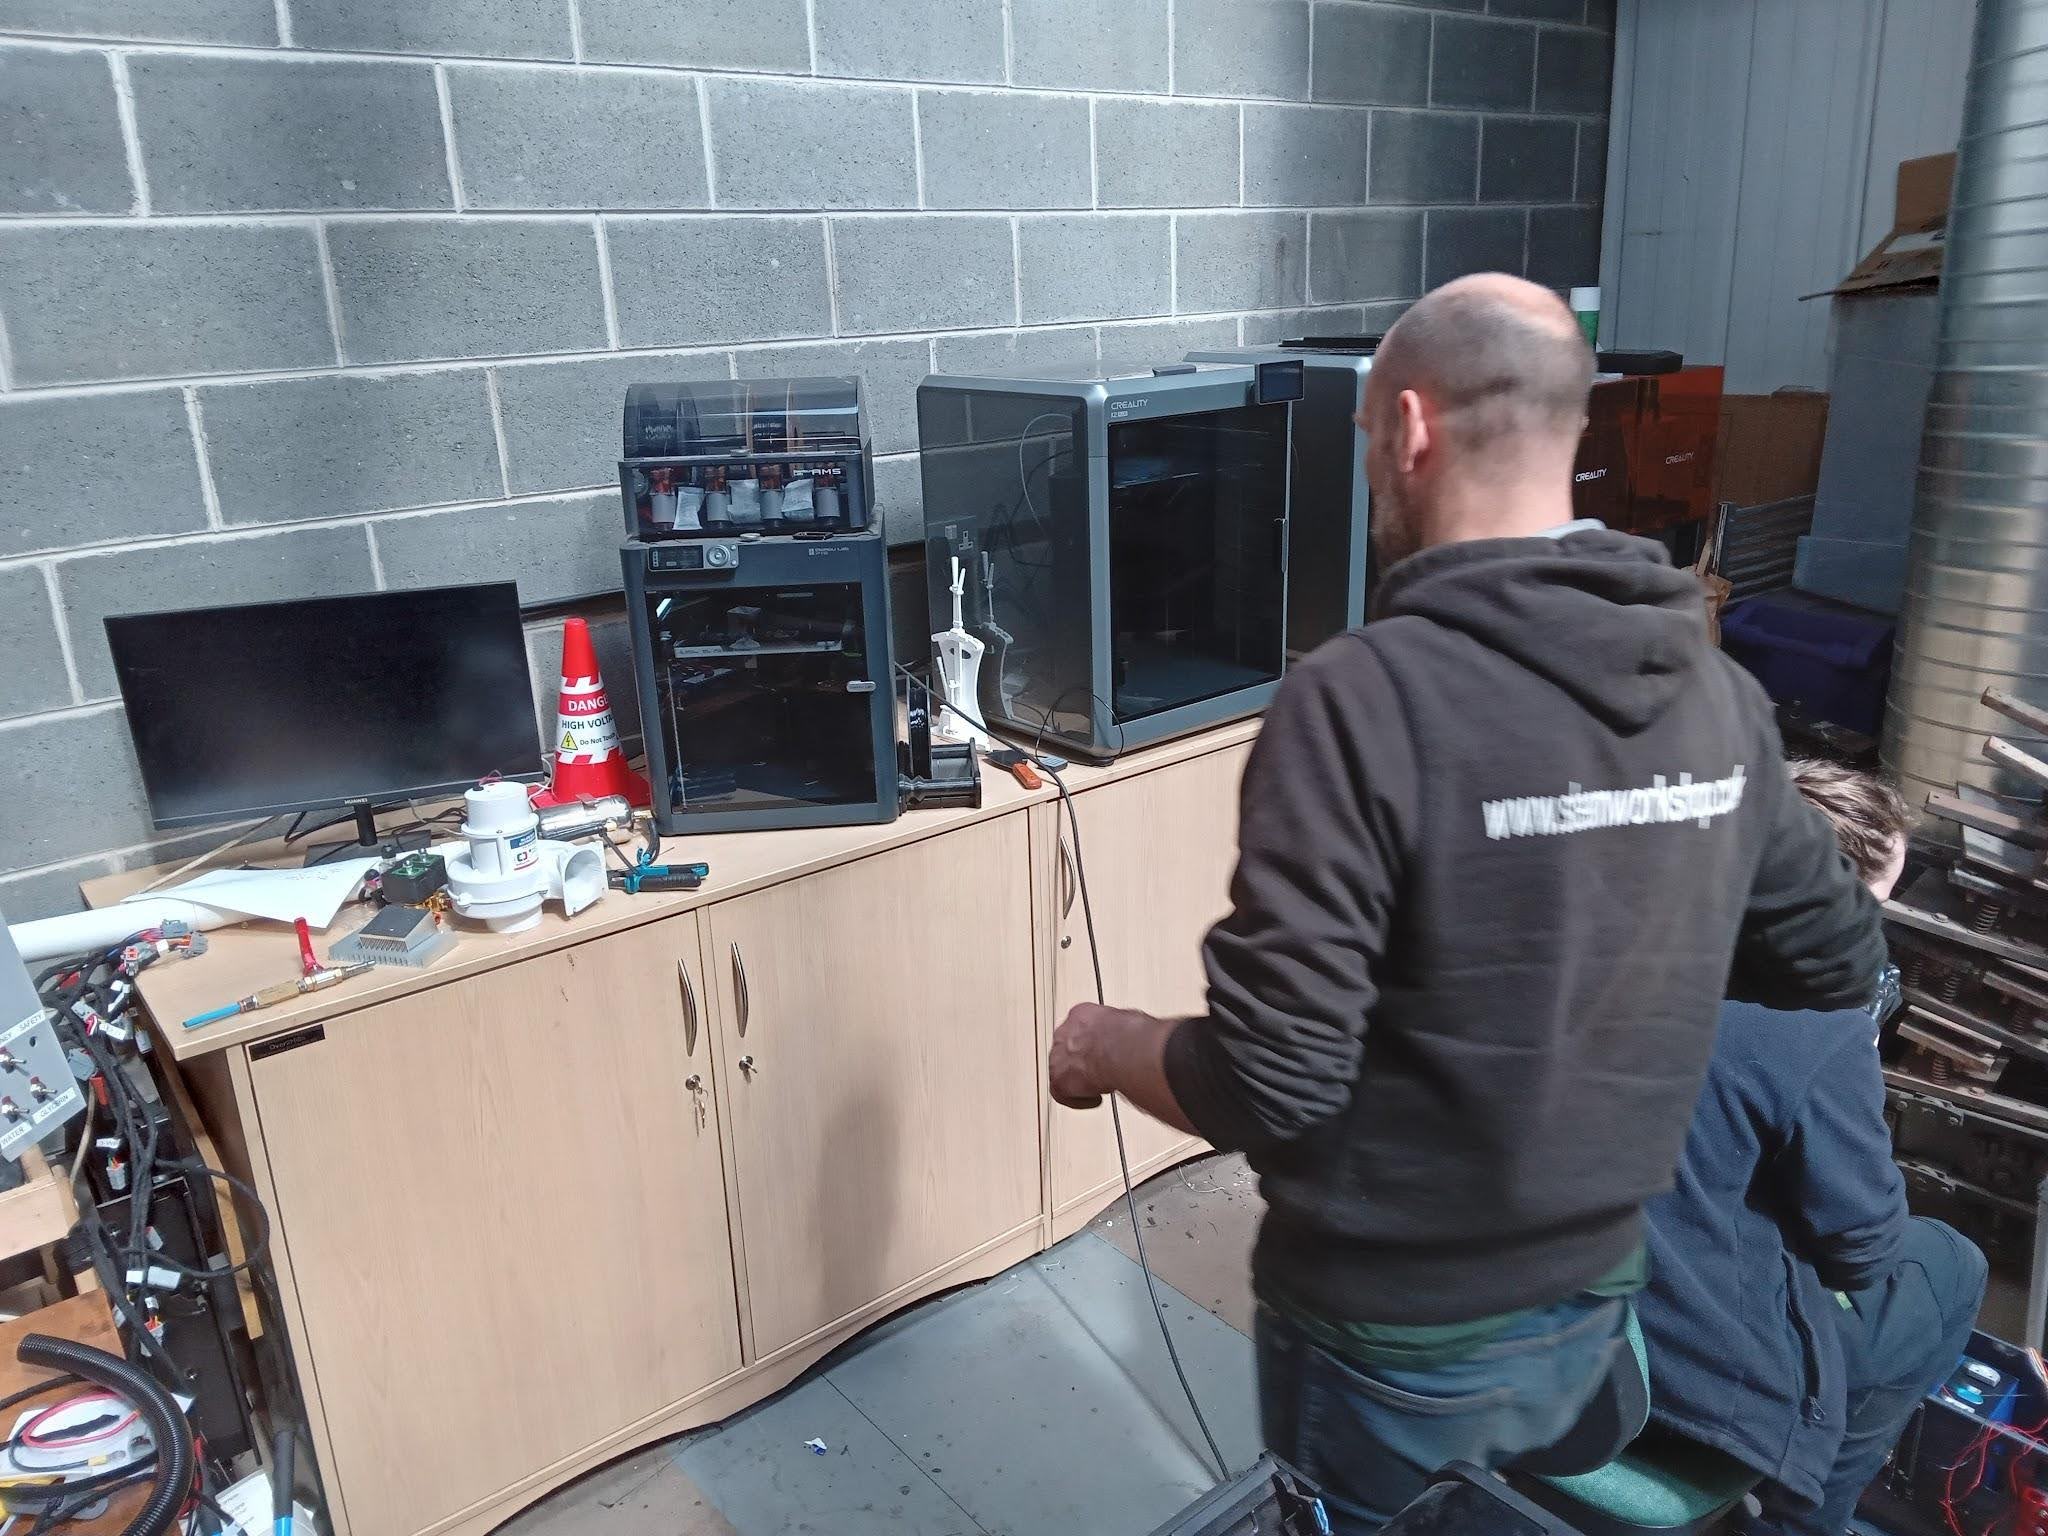
We looked at the 3D department, conventional and resin for those of you in the know.
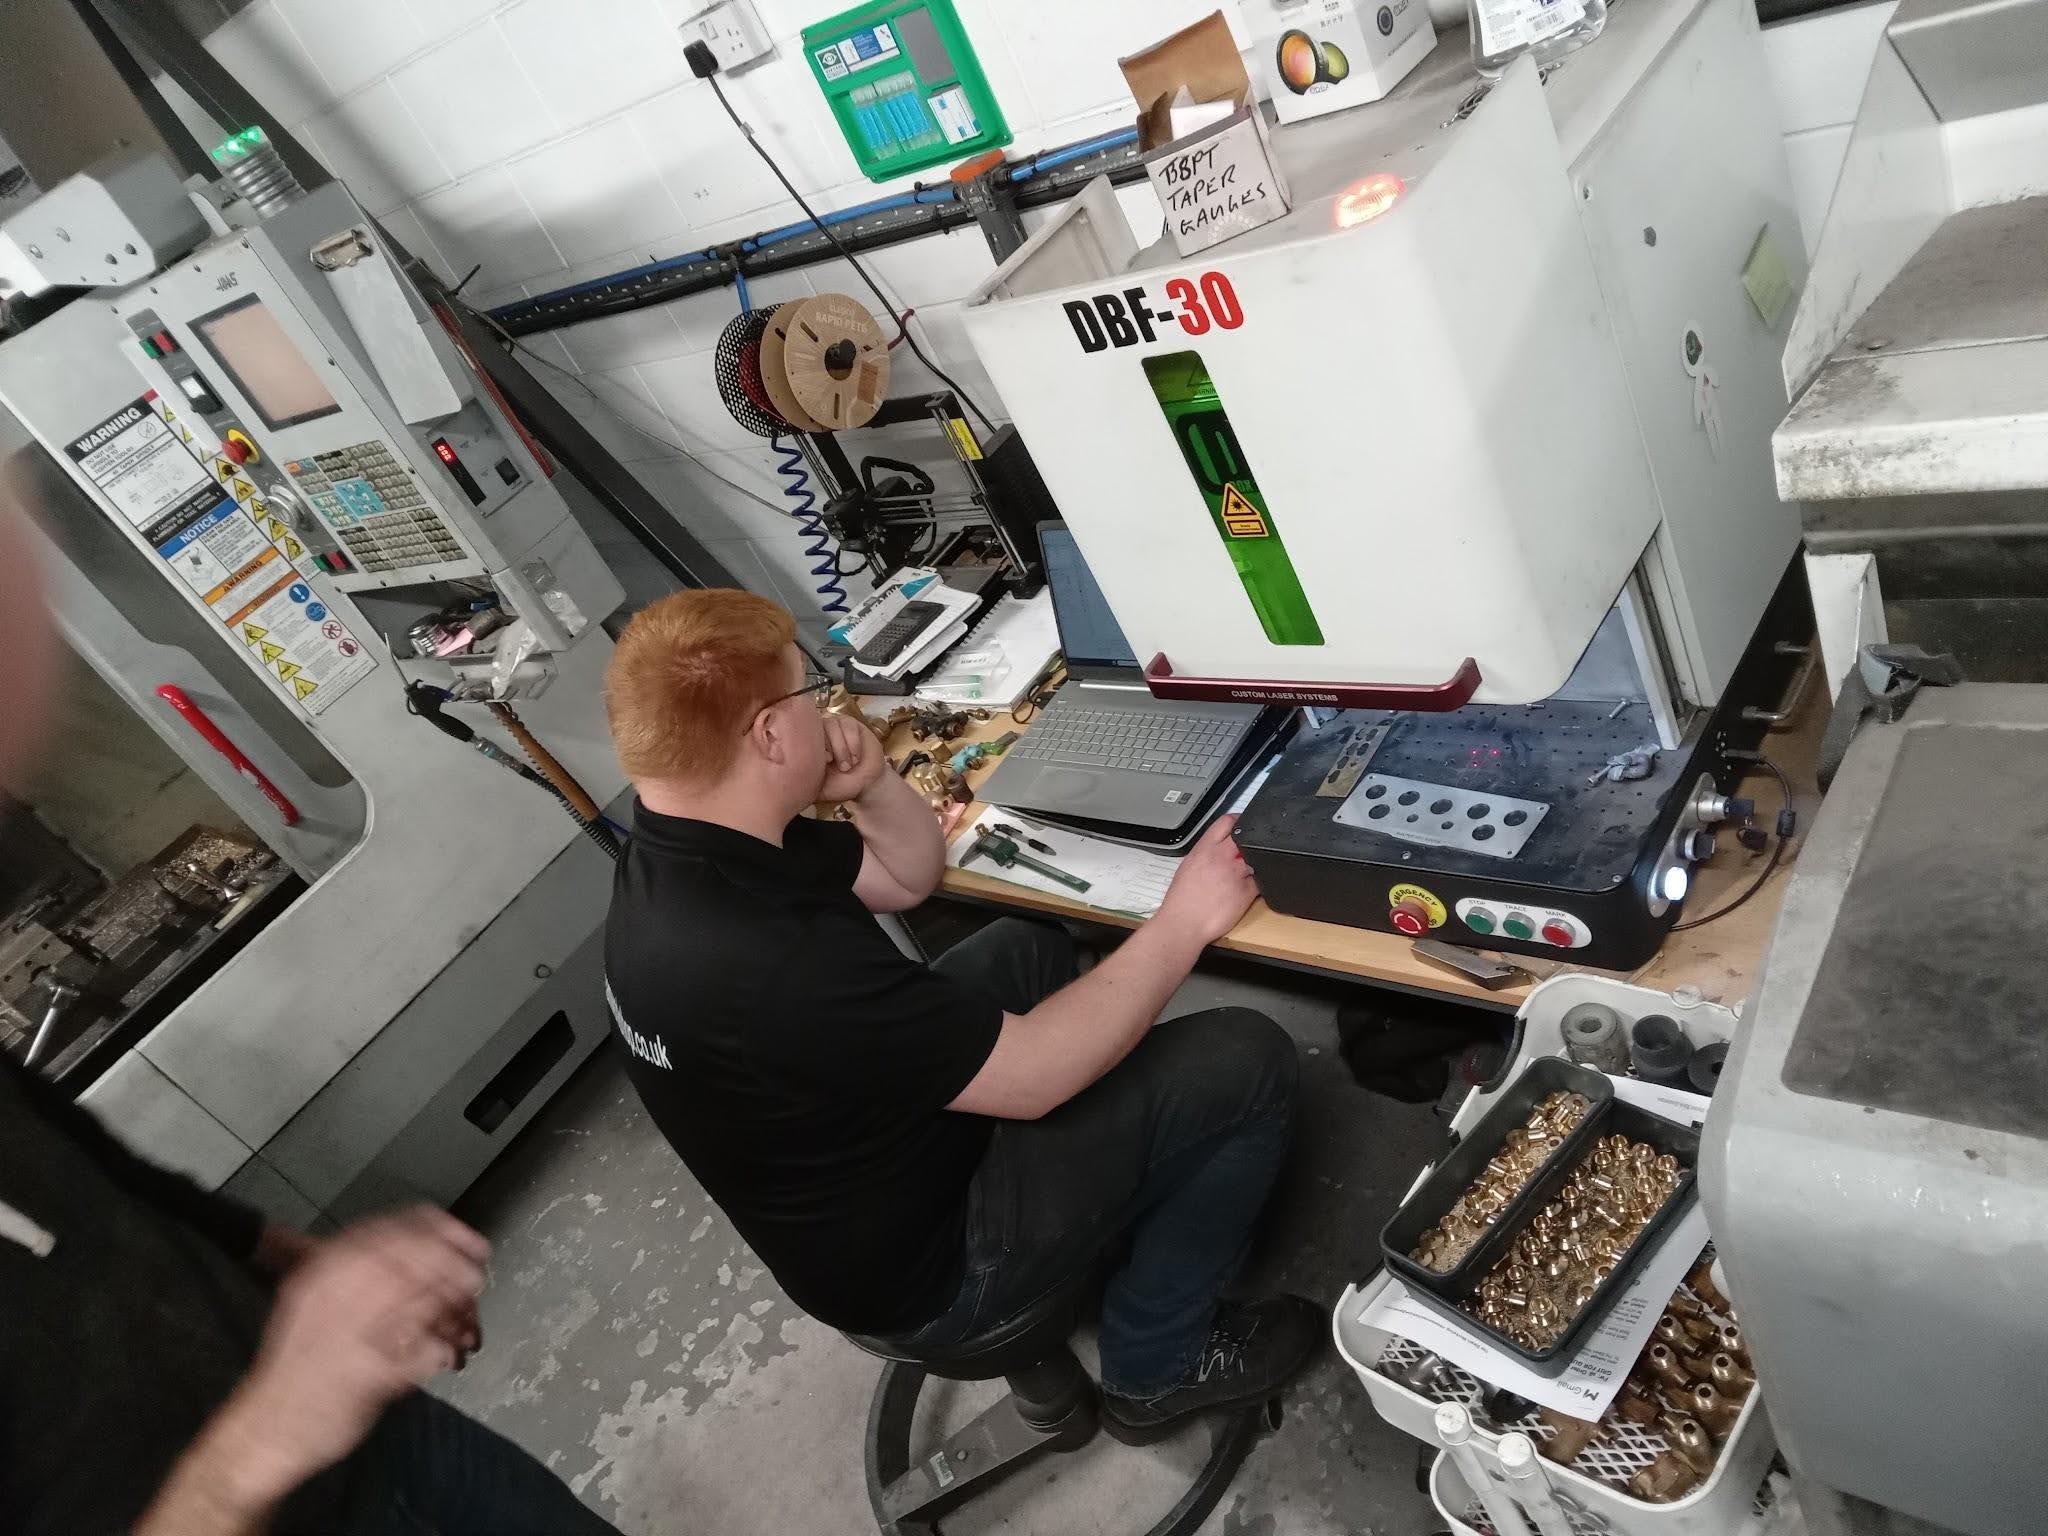
Next we moved into a more familiar part of the workshop (for me) . Their company has three CNC machine tools, a Haas vertical miller, above to the left, a Haas lathe (slide bed type) and a multi axis Citizen Swiss slide bed machine along with the bar feed. Above we see the laser etching machine with John H part way through setting it up. Machining is yet another skill set that they have and people spend all their working lives programming, setting and operating the machine we saw, but it was just another talent that the team had.
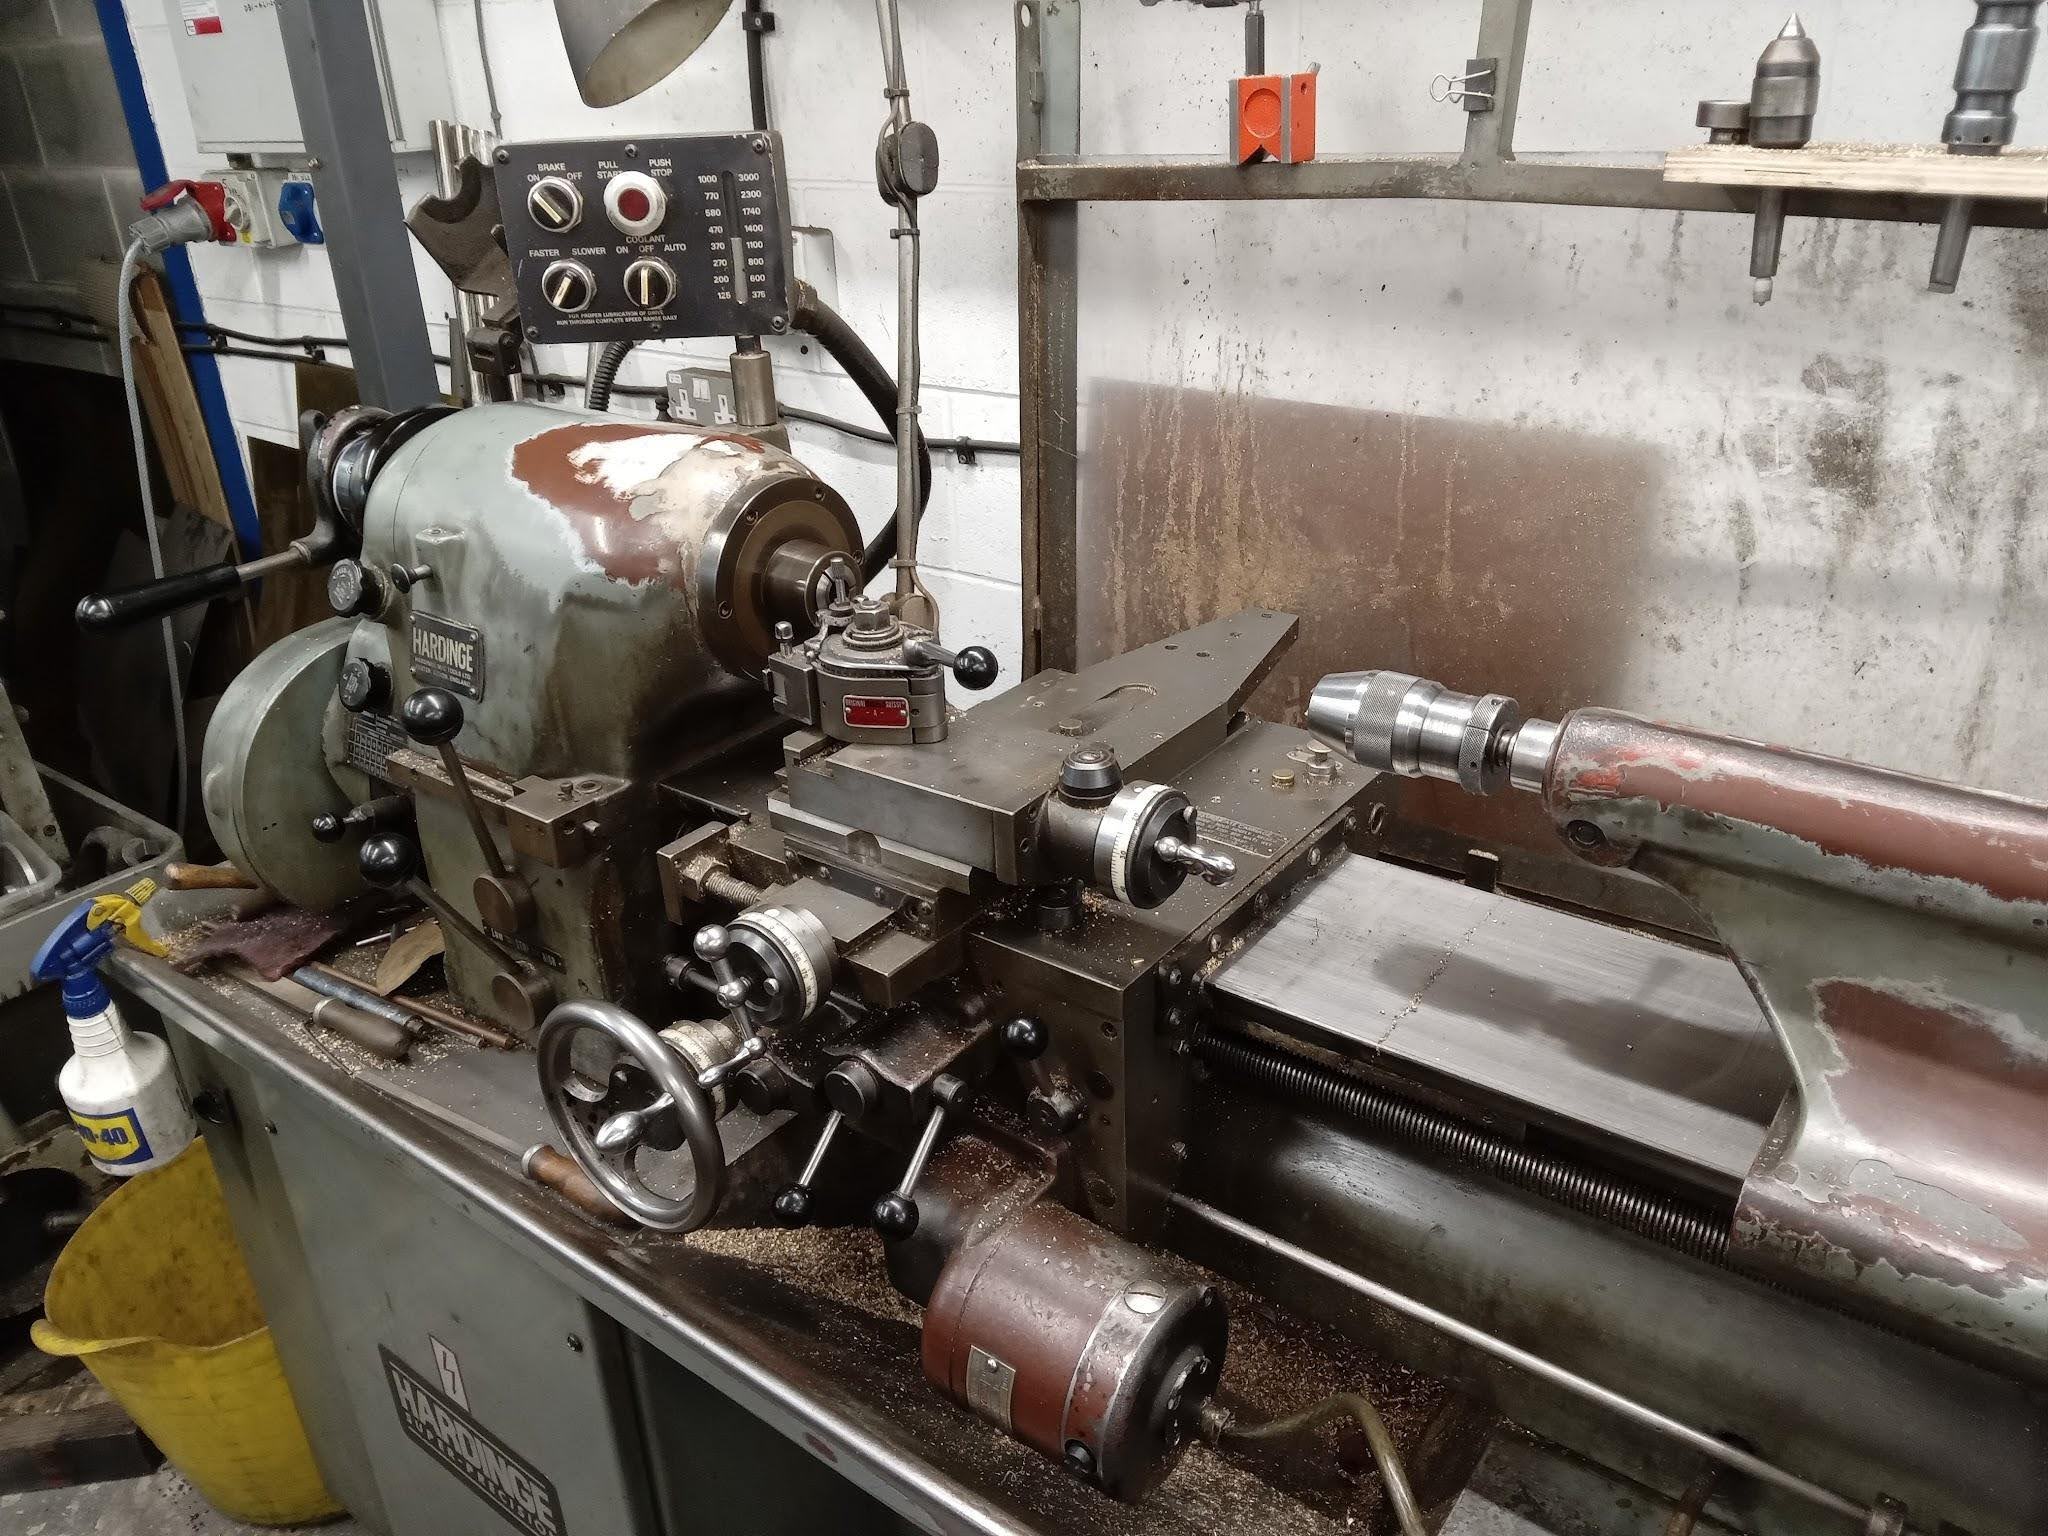
Next stop we found the Colchester (seen earlier) next to this lovely old Hardinge lathe which those who know are a very rated machine.
As you can see space is a tad tight, the more I looked the more tackle was spotted at the end of the bench is a box with some hacksaw blades near the junior hacksaw.

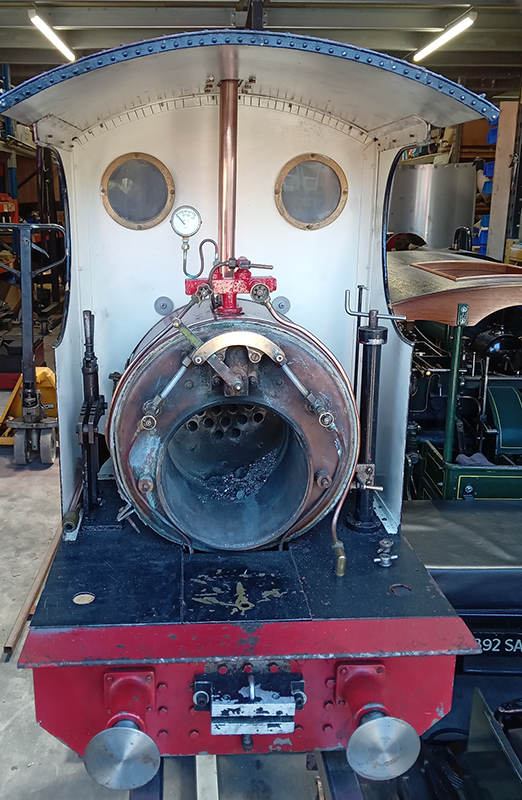
This is an engine in for a refit….
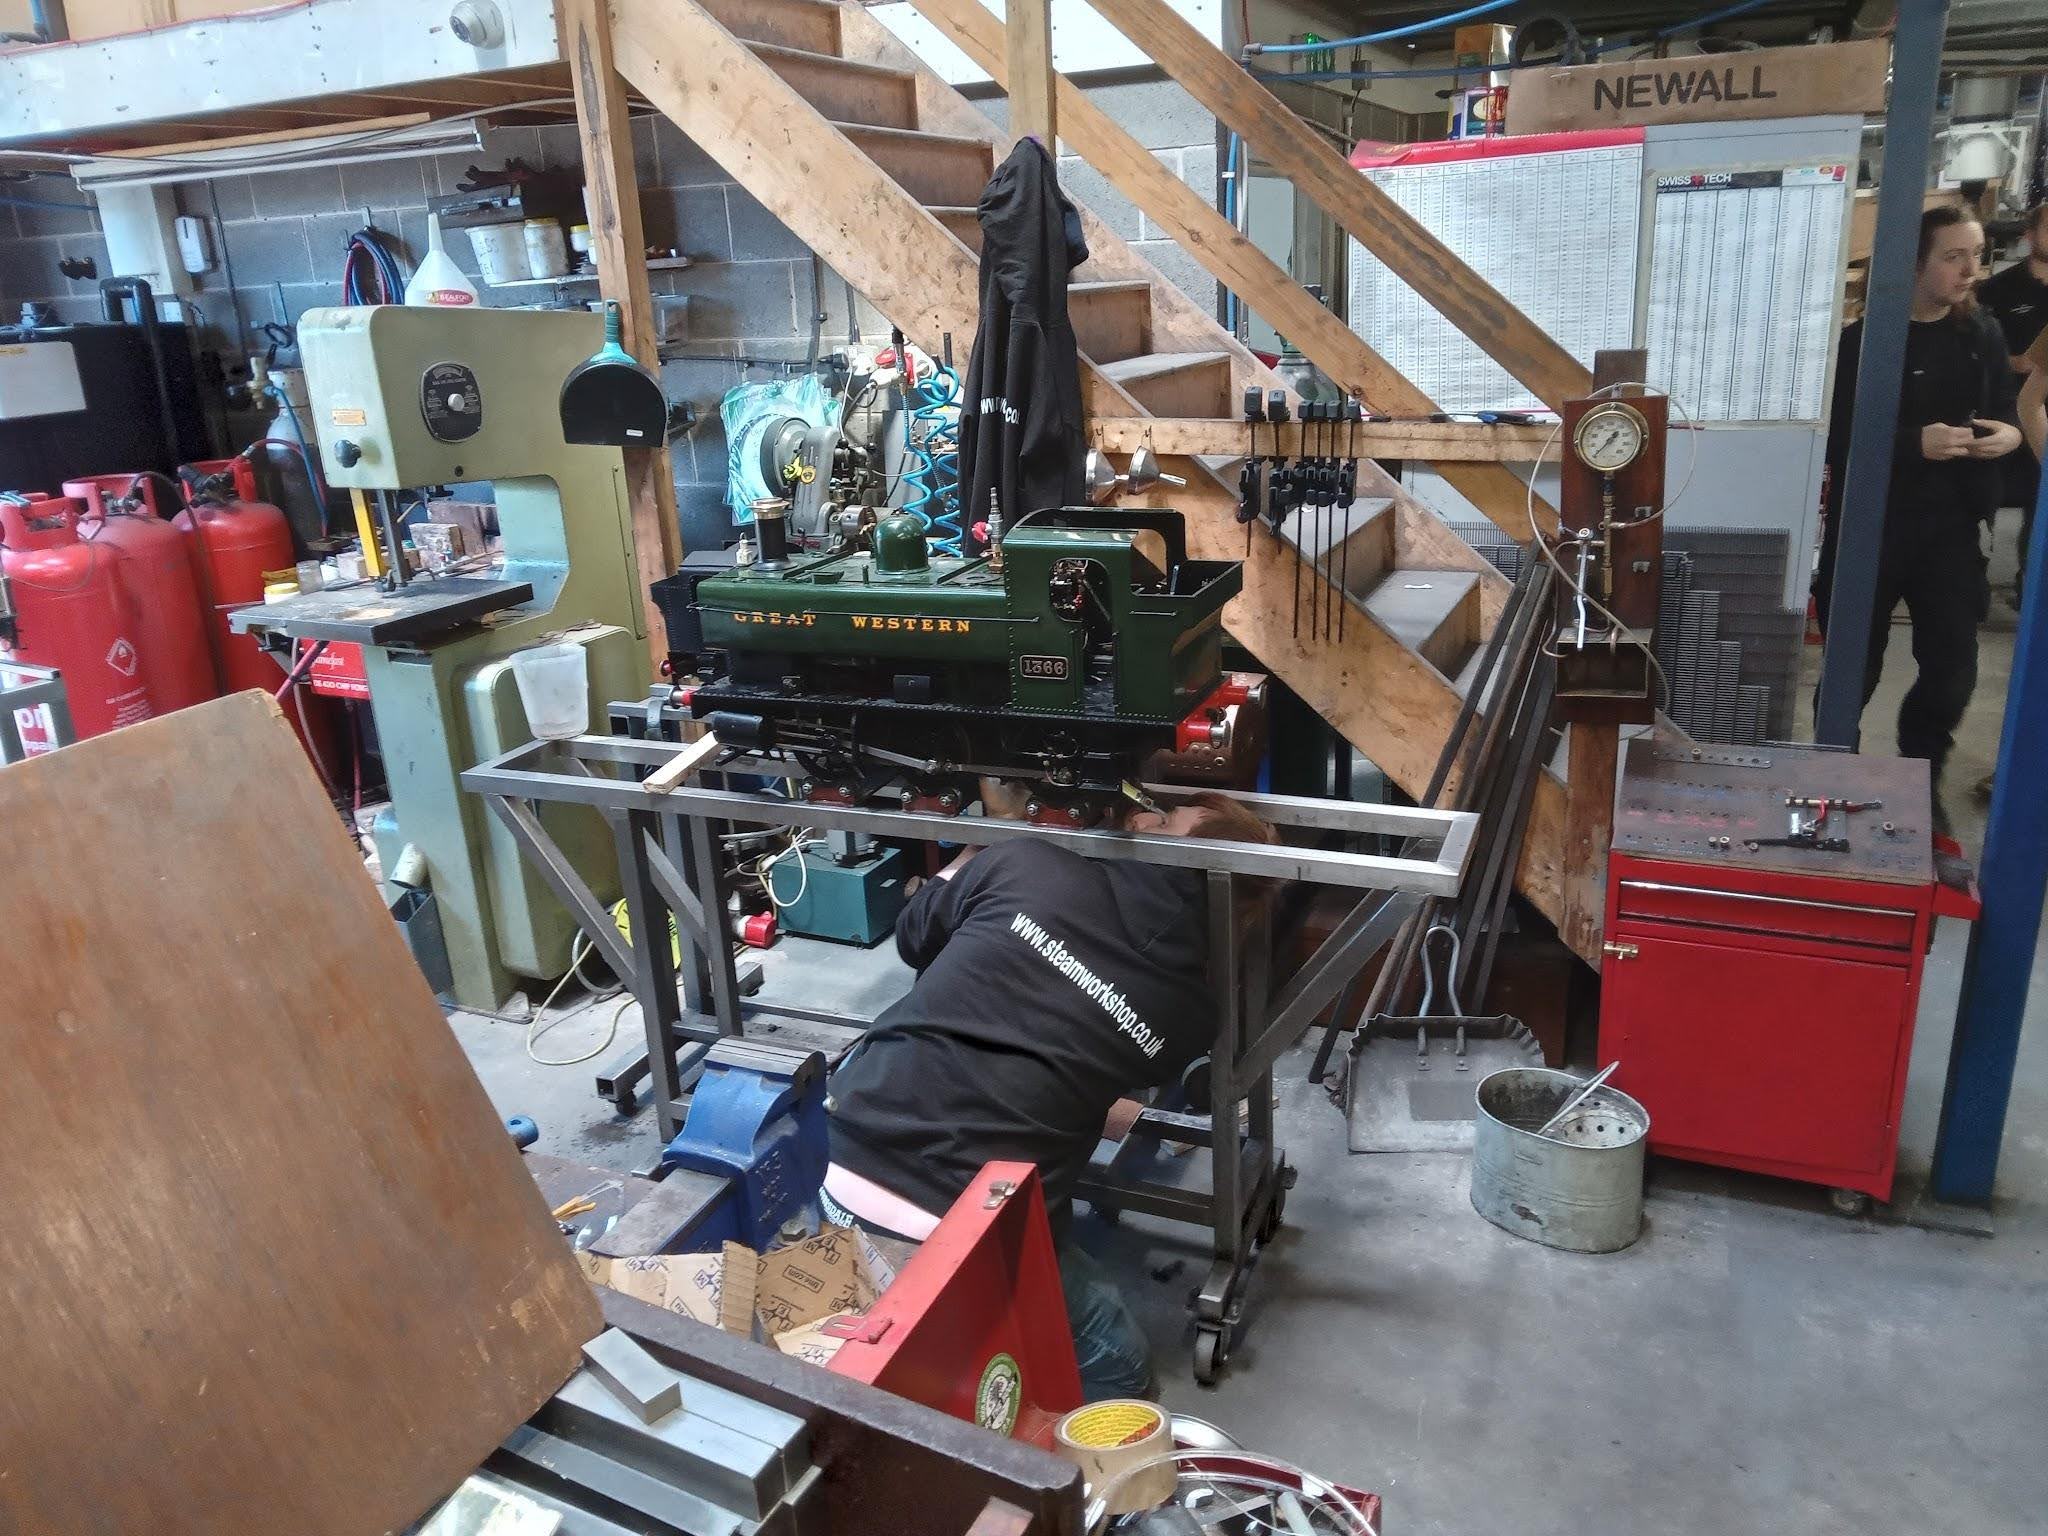
Please study the photo above. Can you see the Myford lathe ?
Answer is below……
Under the stairs where else !
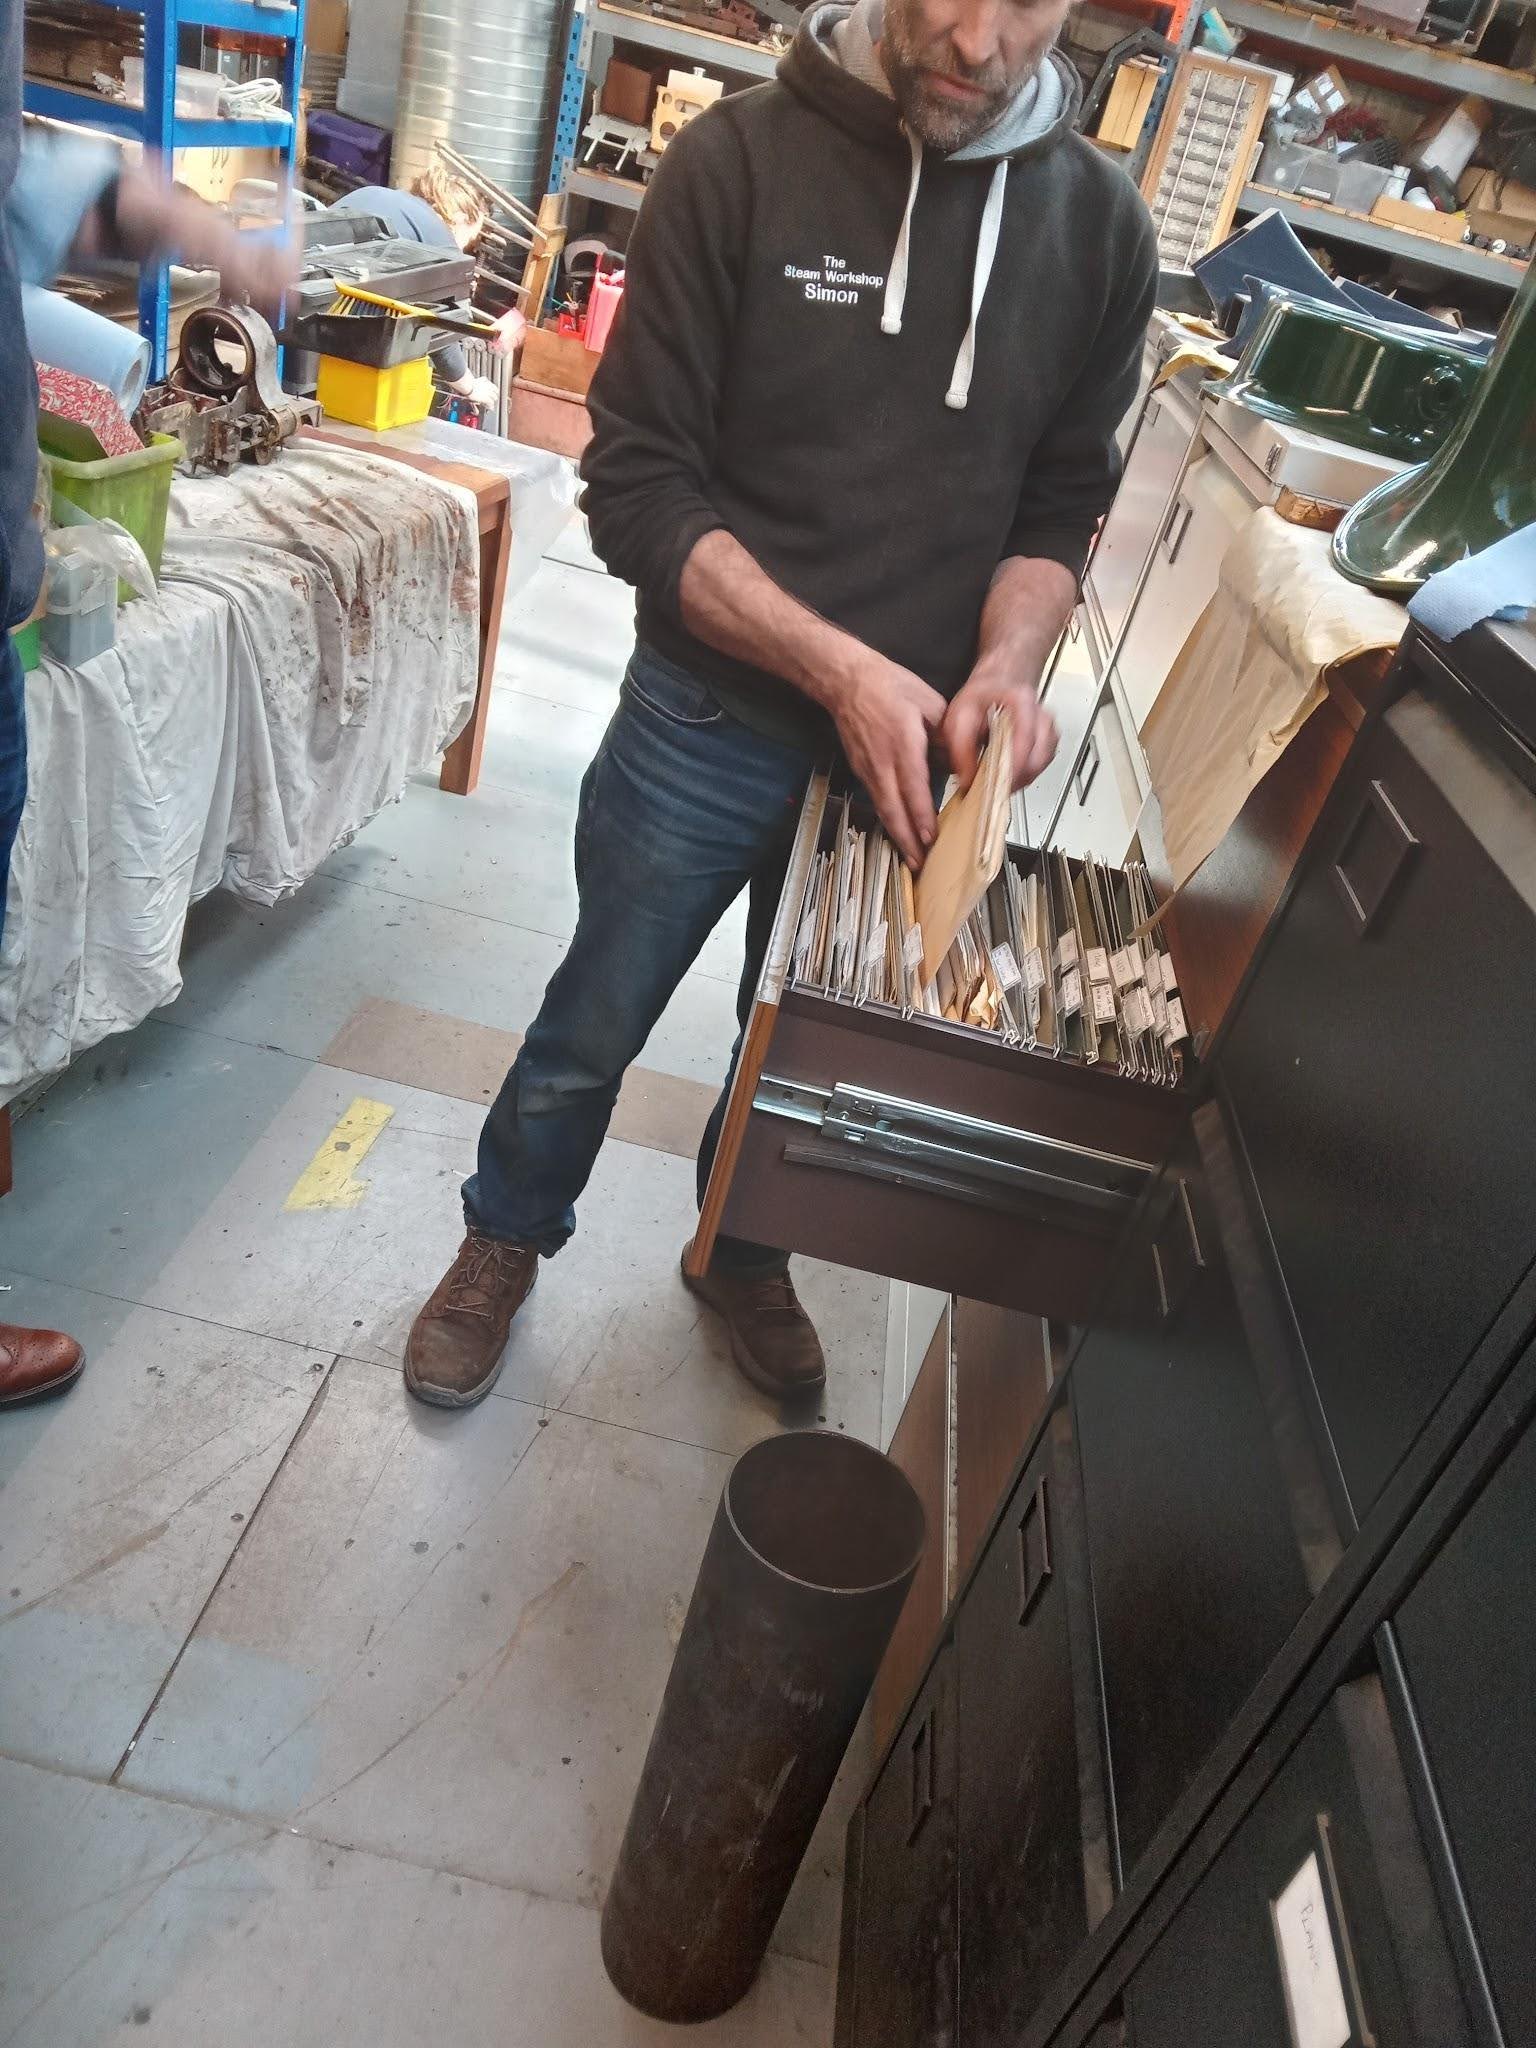
Simon showed us some drawing’s going back a few years , I aren’t sure I could use them to produce what they do. Is that tube a 3 inch mortar ?
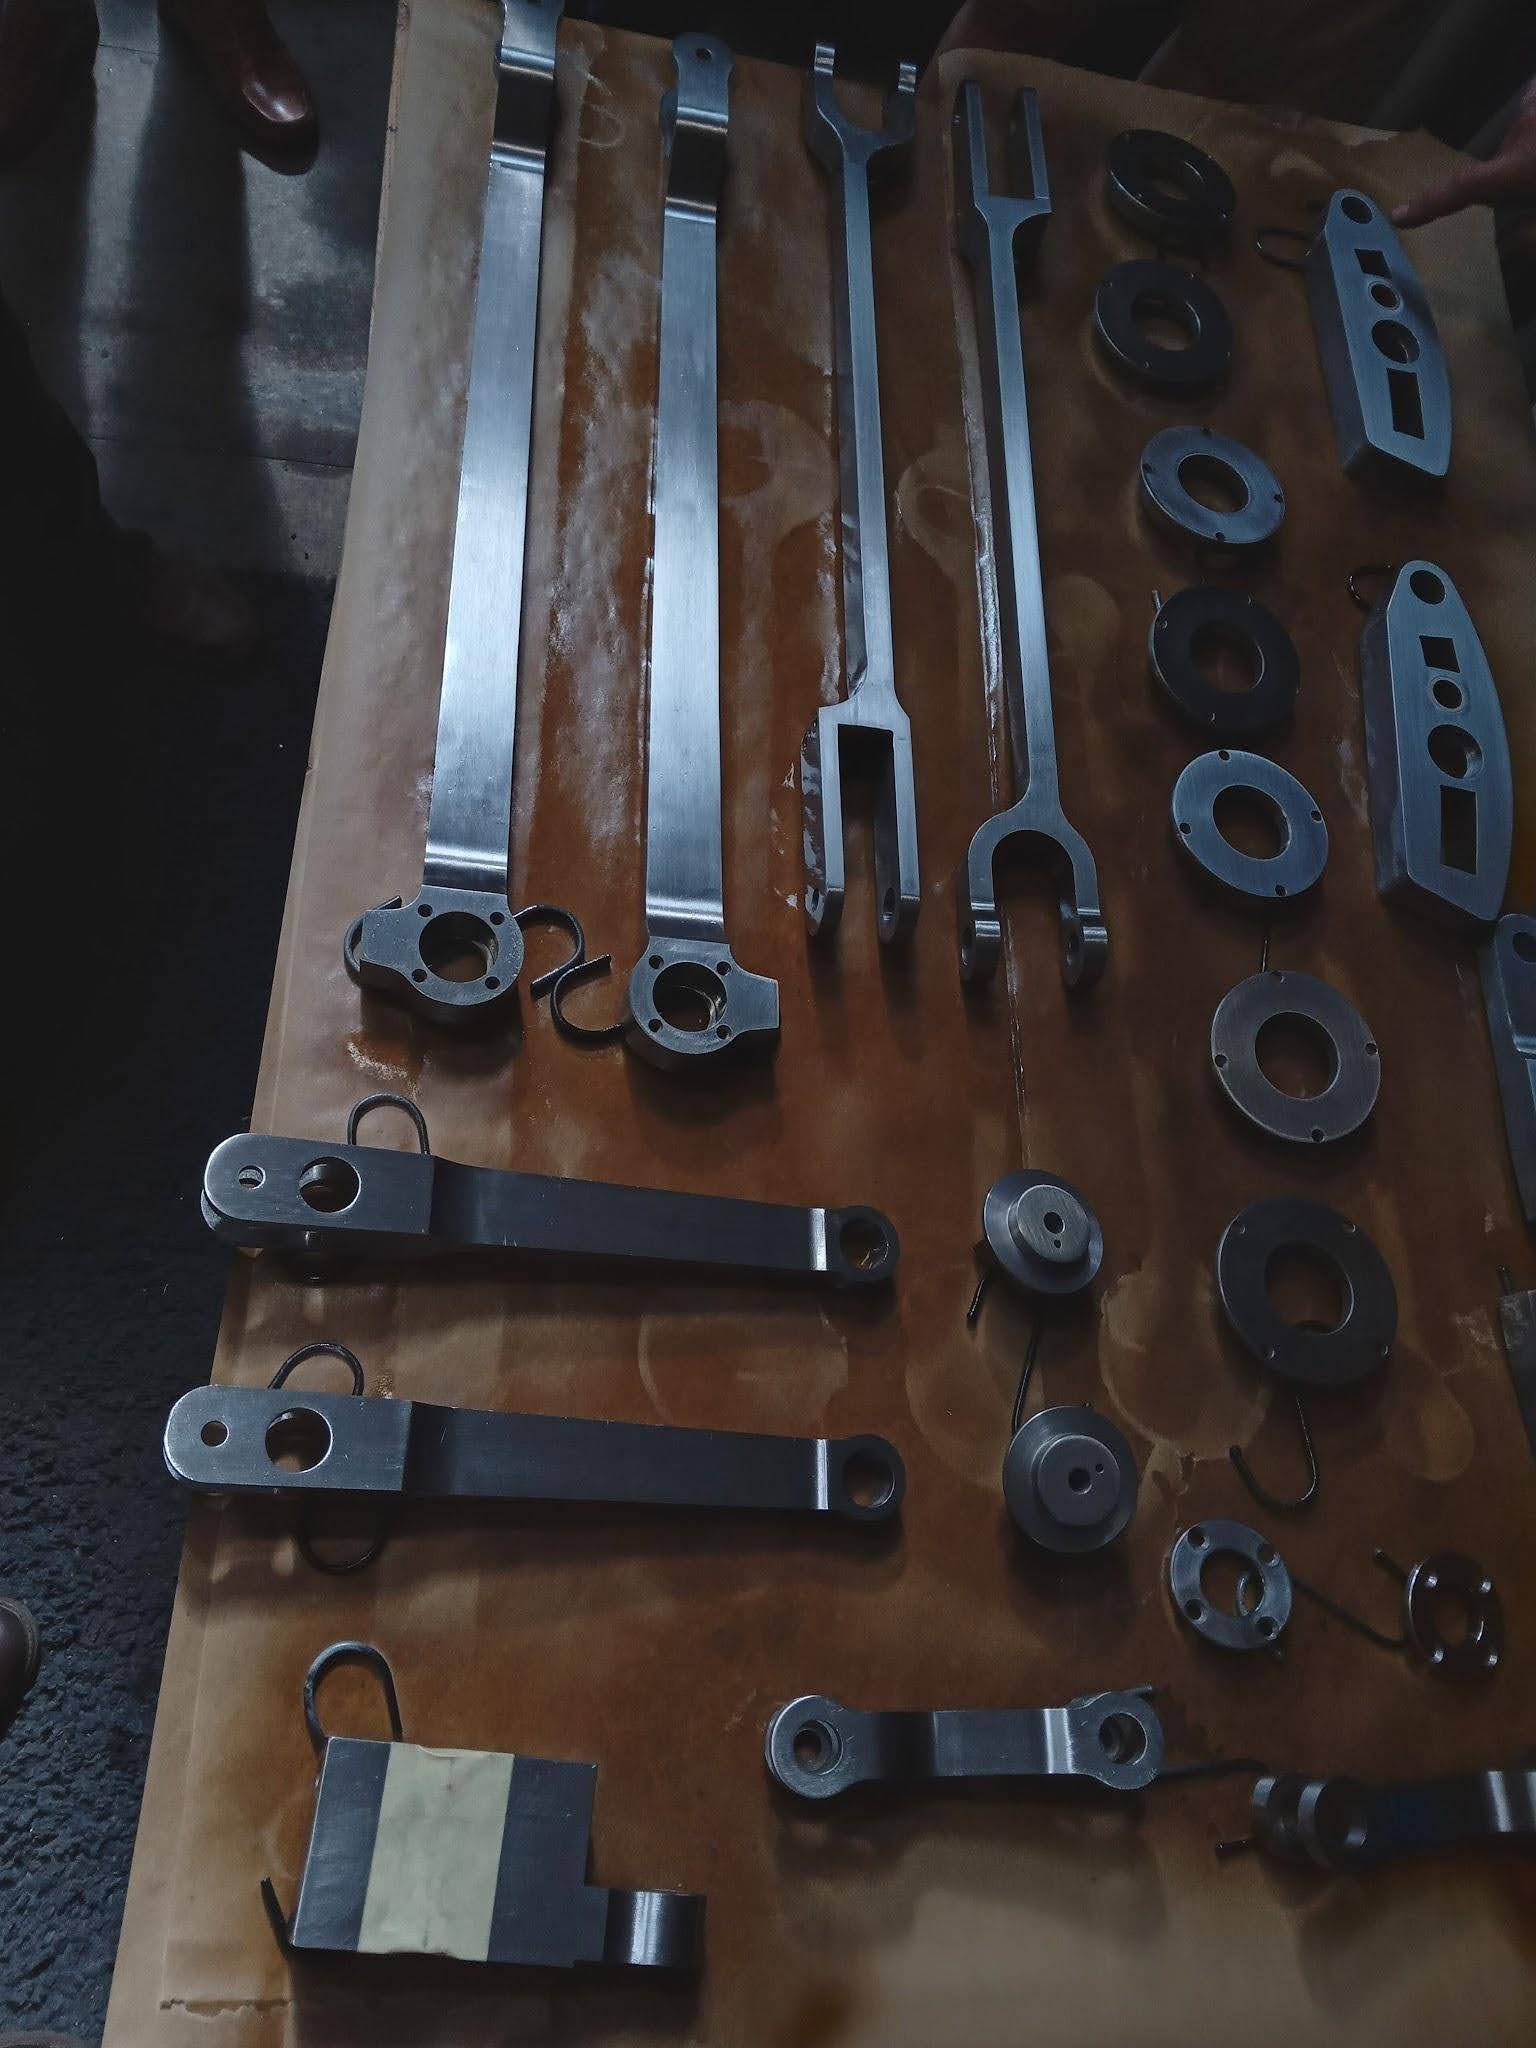
Then we looked at some traditionally made parts, can you identify them, you’re correct I can’t.
At this point I missed out on the sales area. Latest sales from the website, see if you can negotiate the website, good luck….
We thanked Simon for showing us around, he was very happy to receive a round of applause and said it had never happened before.
Howard was talking about company that can create your 3D models into rendered photos, so here is the info from Howard (from an email he sent me afterwards)
**************************************************************************
Hi John,
Yes, really good visit, I recommend a program called Keyshot, takes 3D images from the Inventor CAD software they are using and creates realistic images, great for capturing customer interest and imagination
These images attached……
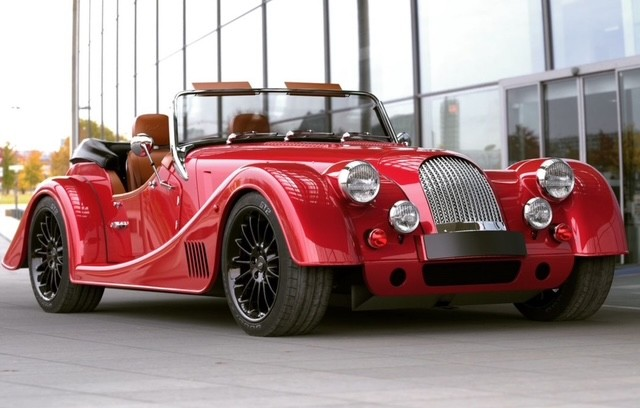
of a car and gearbox are the output from Keyshot.
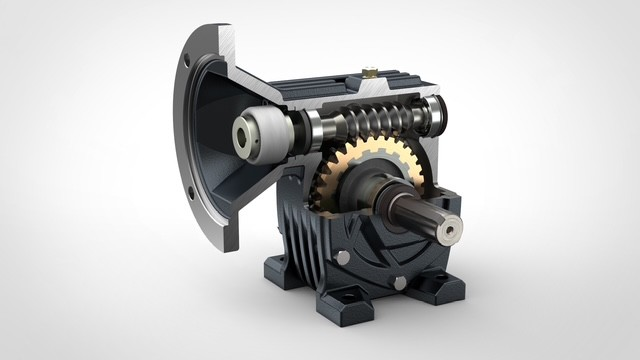
If you can design it in 3D you can render it in Keyshot.
Regards,
Howard.
***************************************************************************
.